
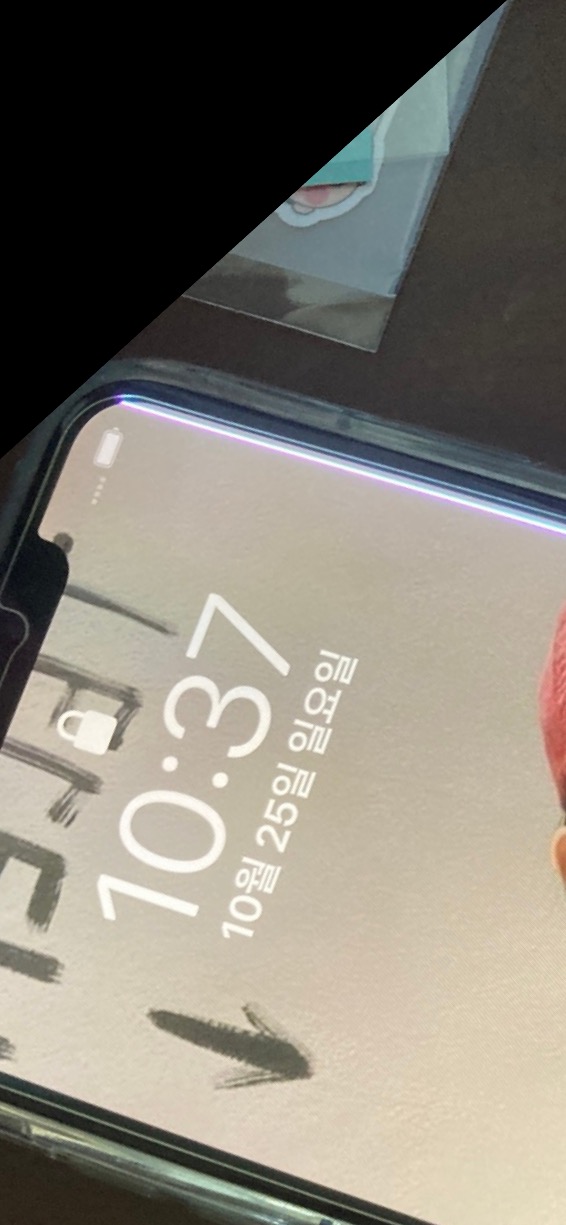
아이폰 xs max를 한 번 놓쳤습니다. 그 후에 우측에 하얀 실선이 수직으로 나타나고 터치가 되는 면적이 점점 좁아지더니 아예 안되는 상황이 와서 액정 교체를 결심했습니다.
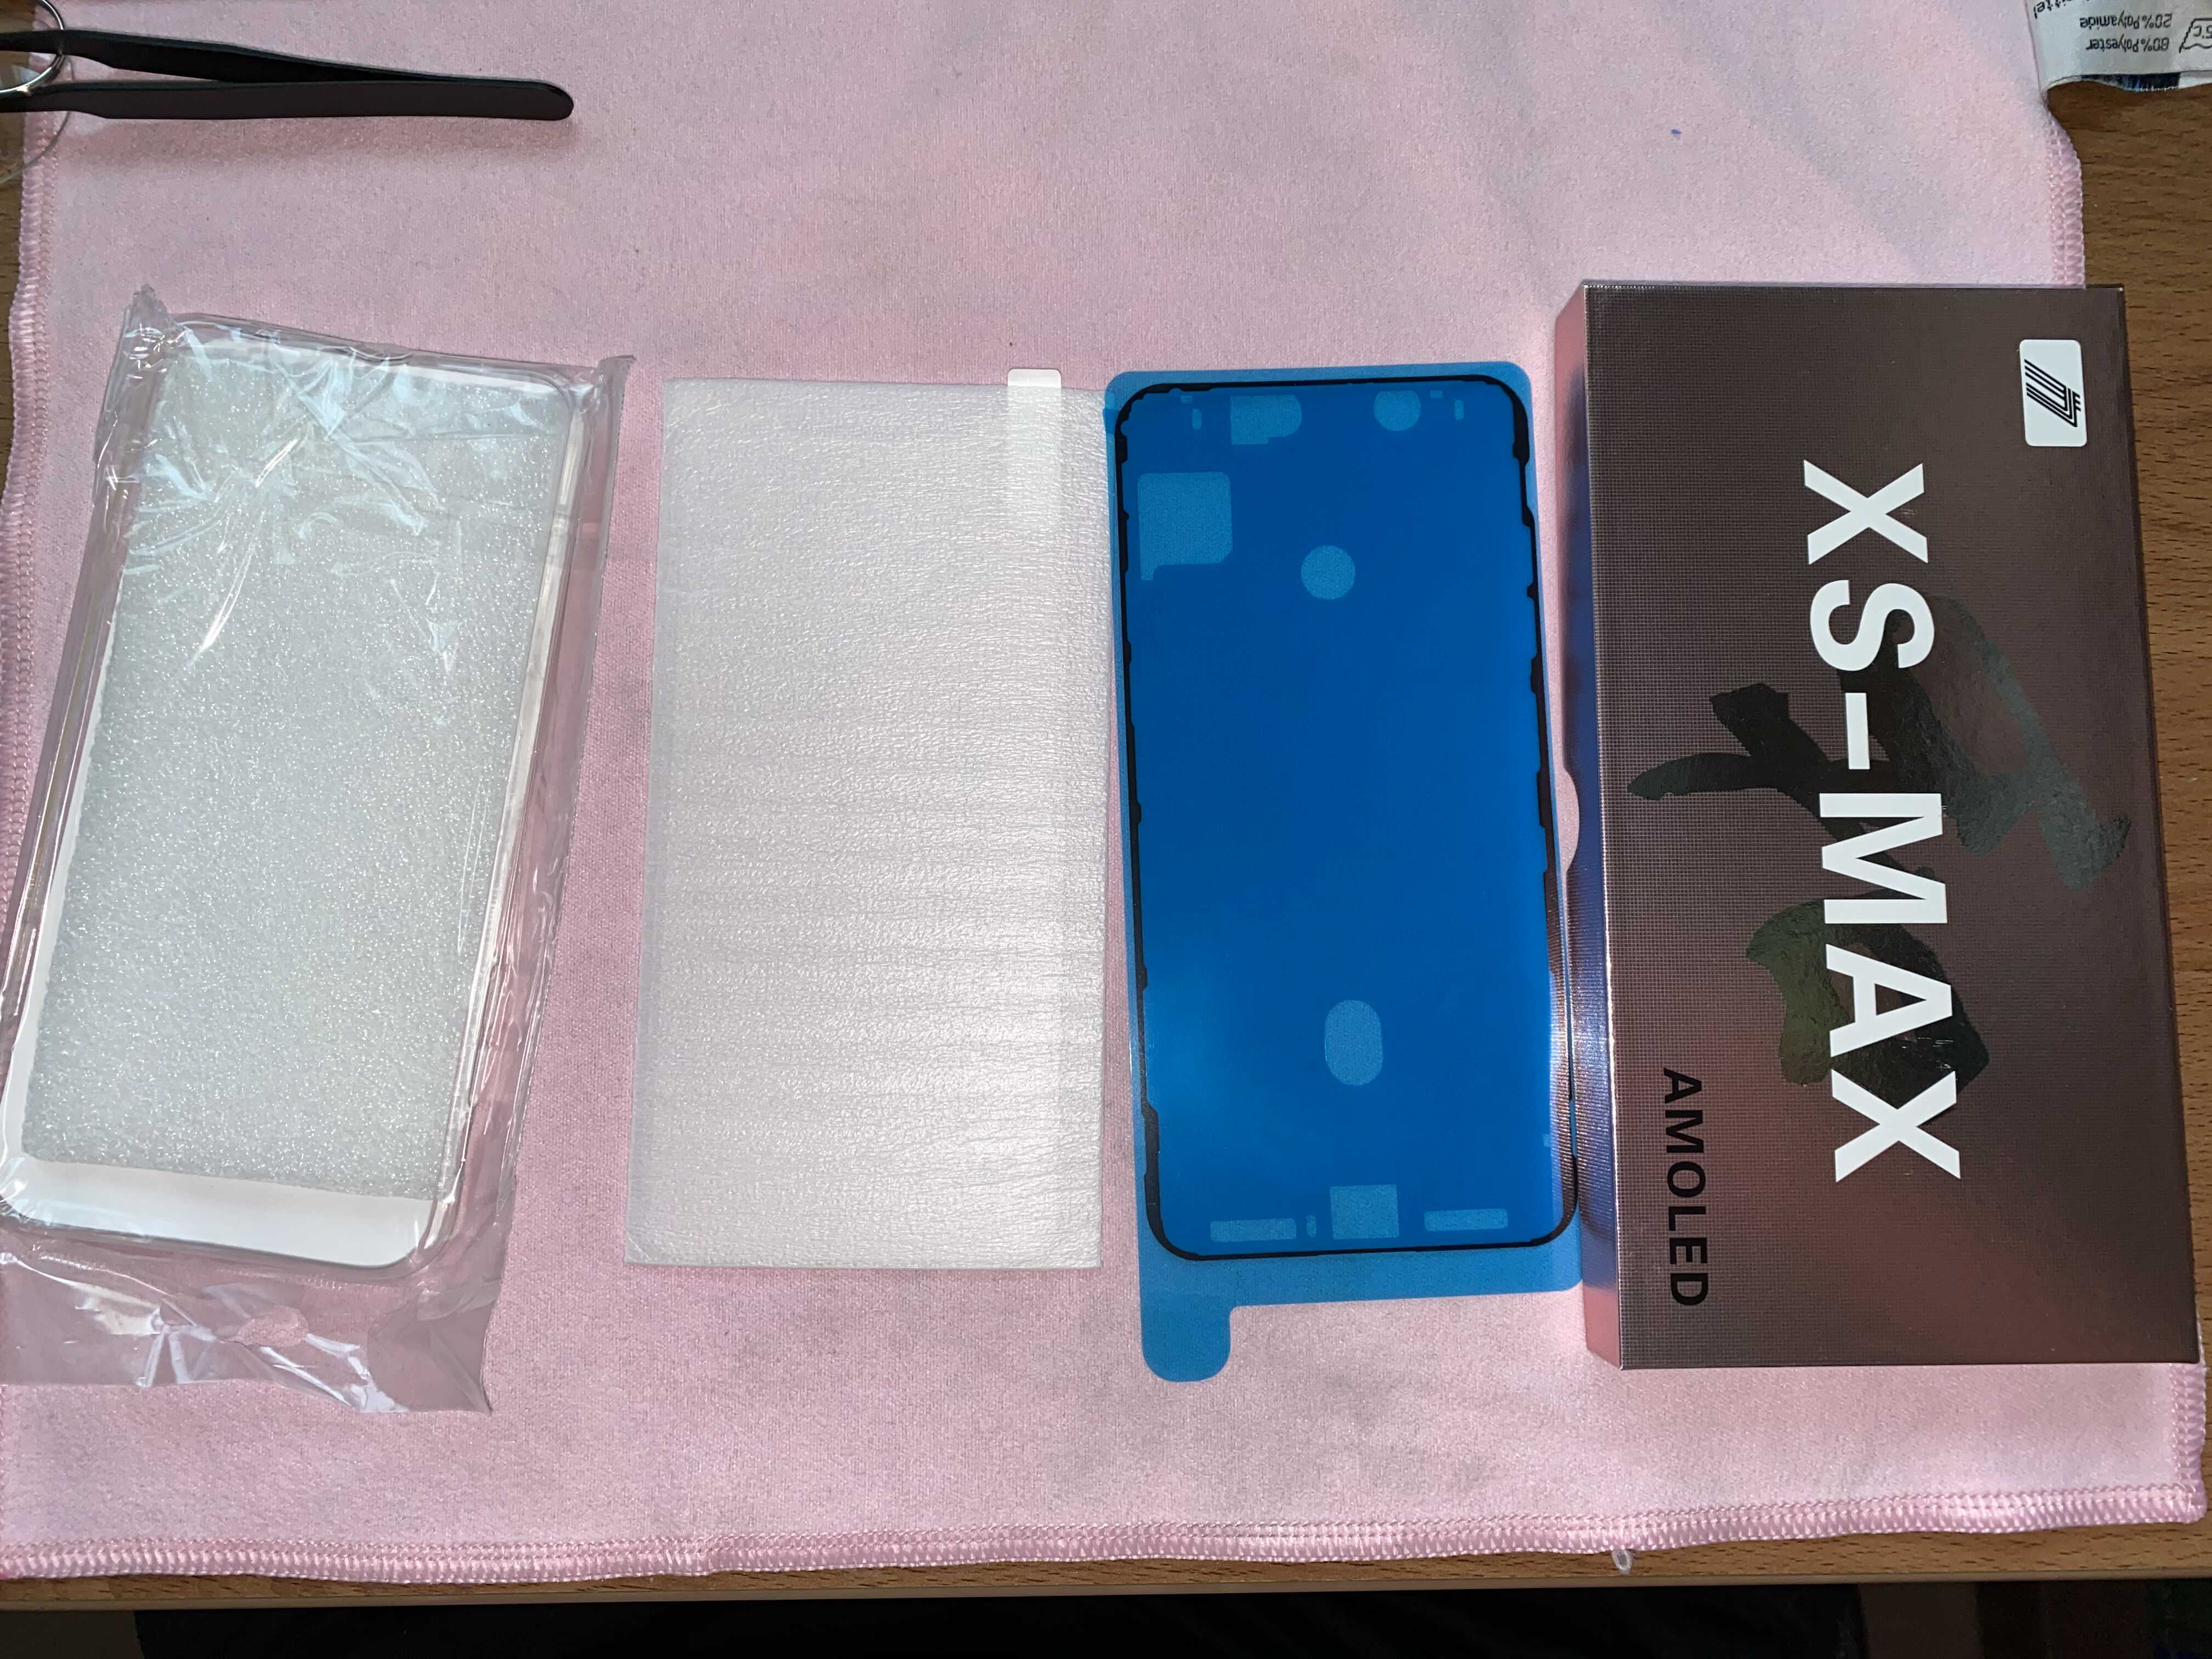
알리에서 액정을 구매 했습니다. 비용은 84.18달러가 들었구요, 11일만에 도착했습니다.
우선 배터리 충전양을 25% 이하로 하라고 해서 방전시켰습니다.
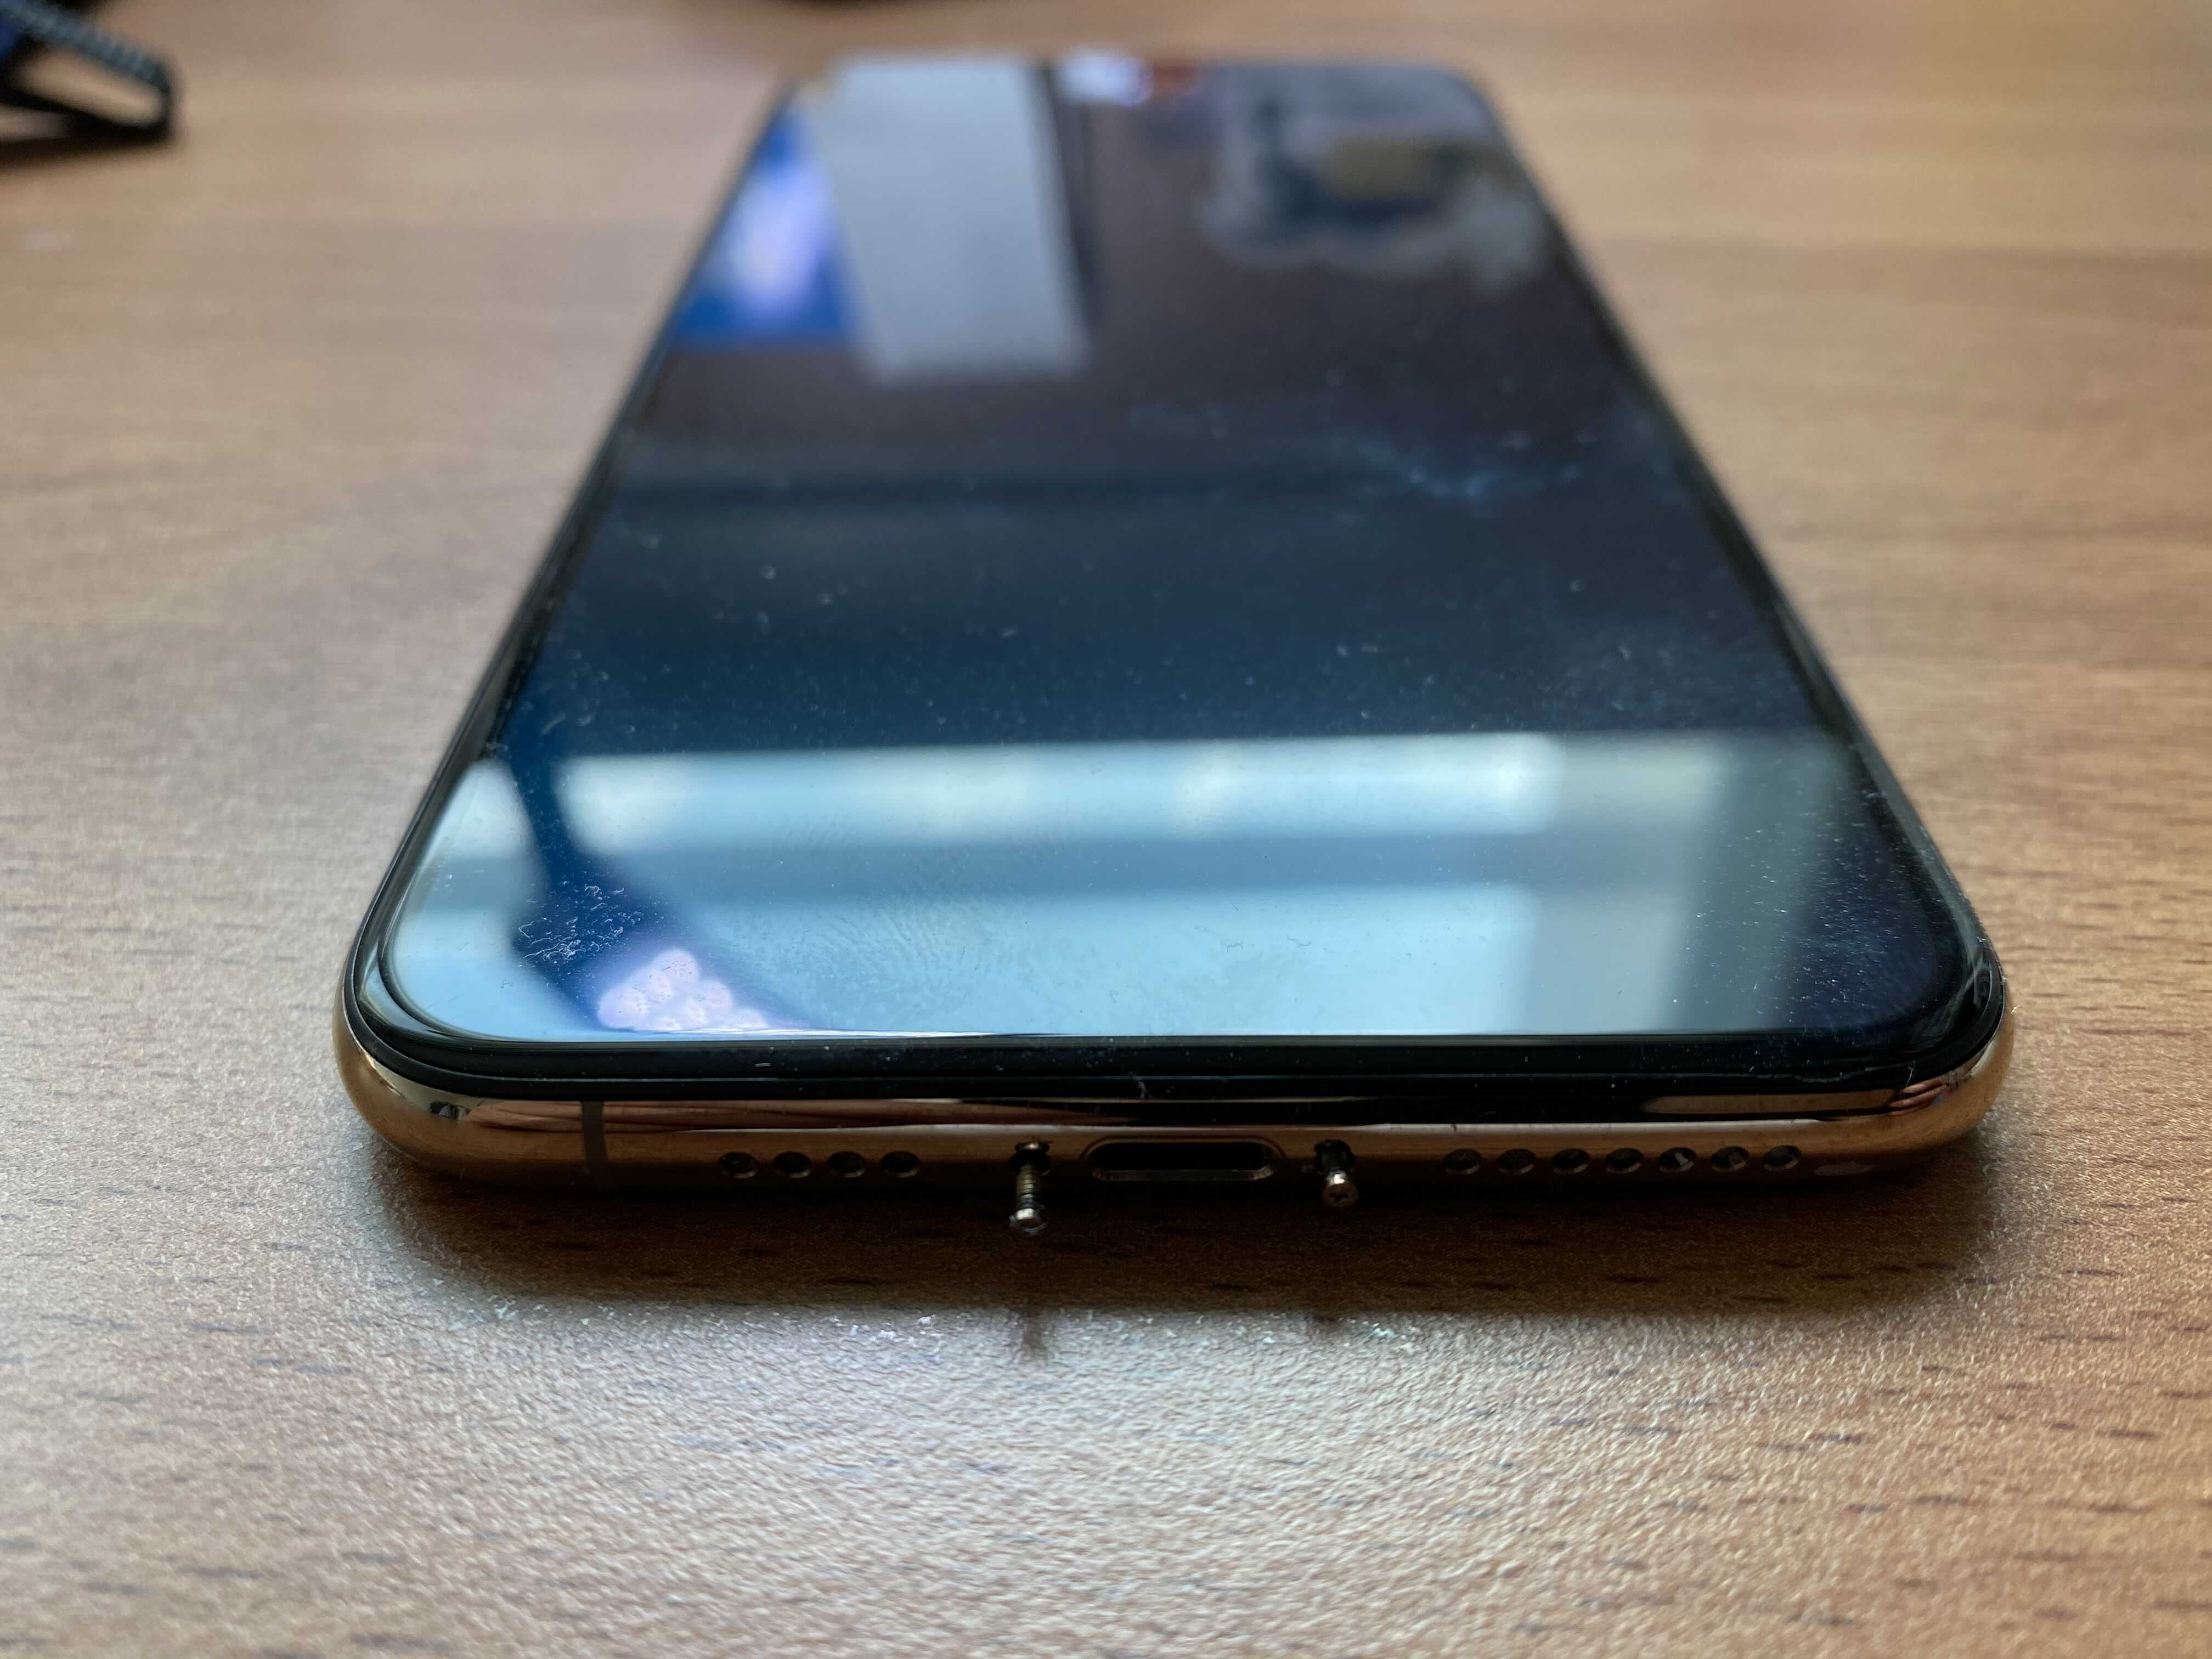
액정살 때 같이 주는 공구로 하단 나사 두 개를 풀렀구요, 찜질팩을 이용해서액정과 본체를 밀착시킨 본드를 녹인 후에 얇은 플라스틱으로 떼어 냈는데요. 열을 가할 때 주의해야 할 것 같습니다. 센서들이 열에 약해서 항상 하나는 망가뜨리네요.
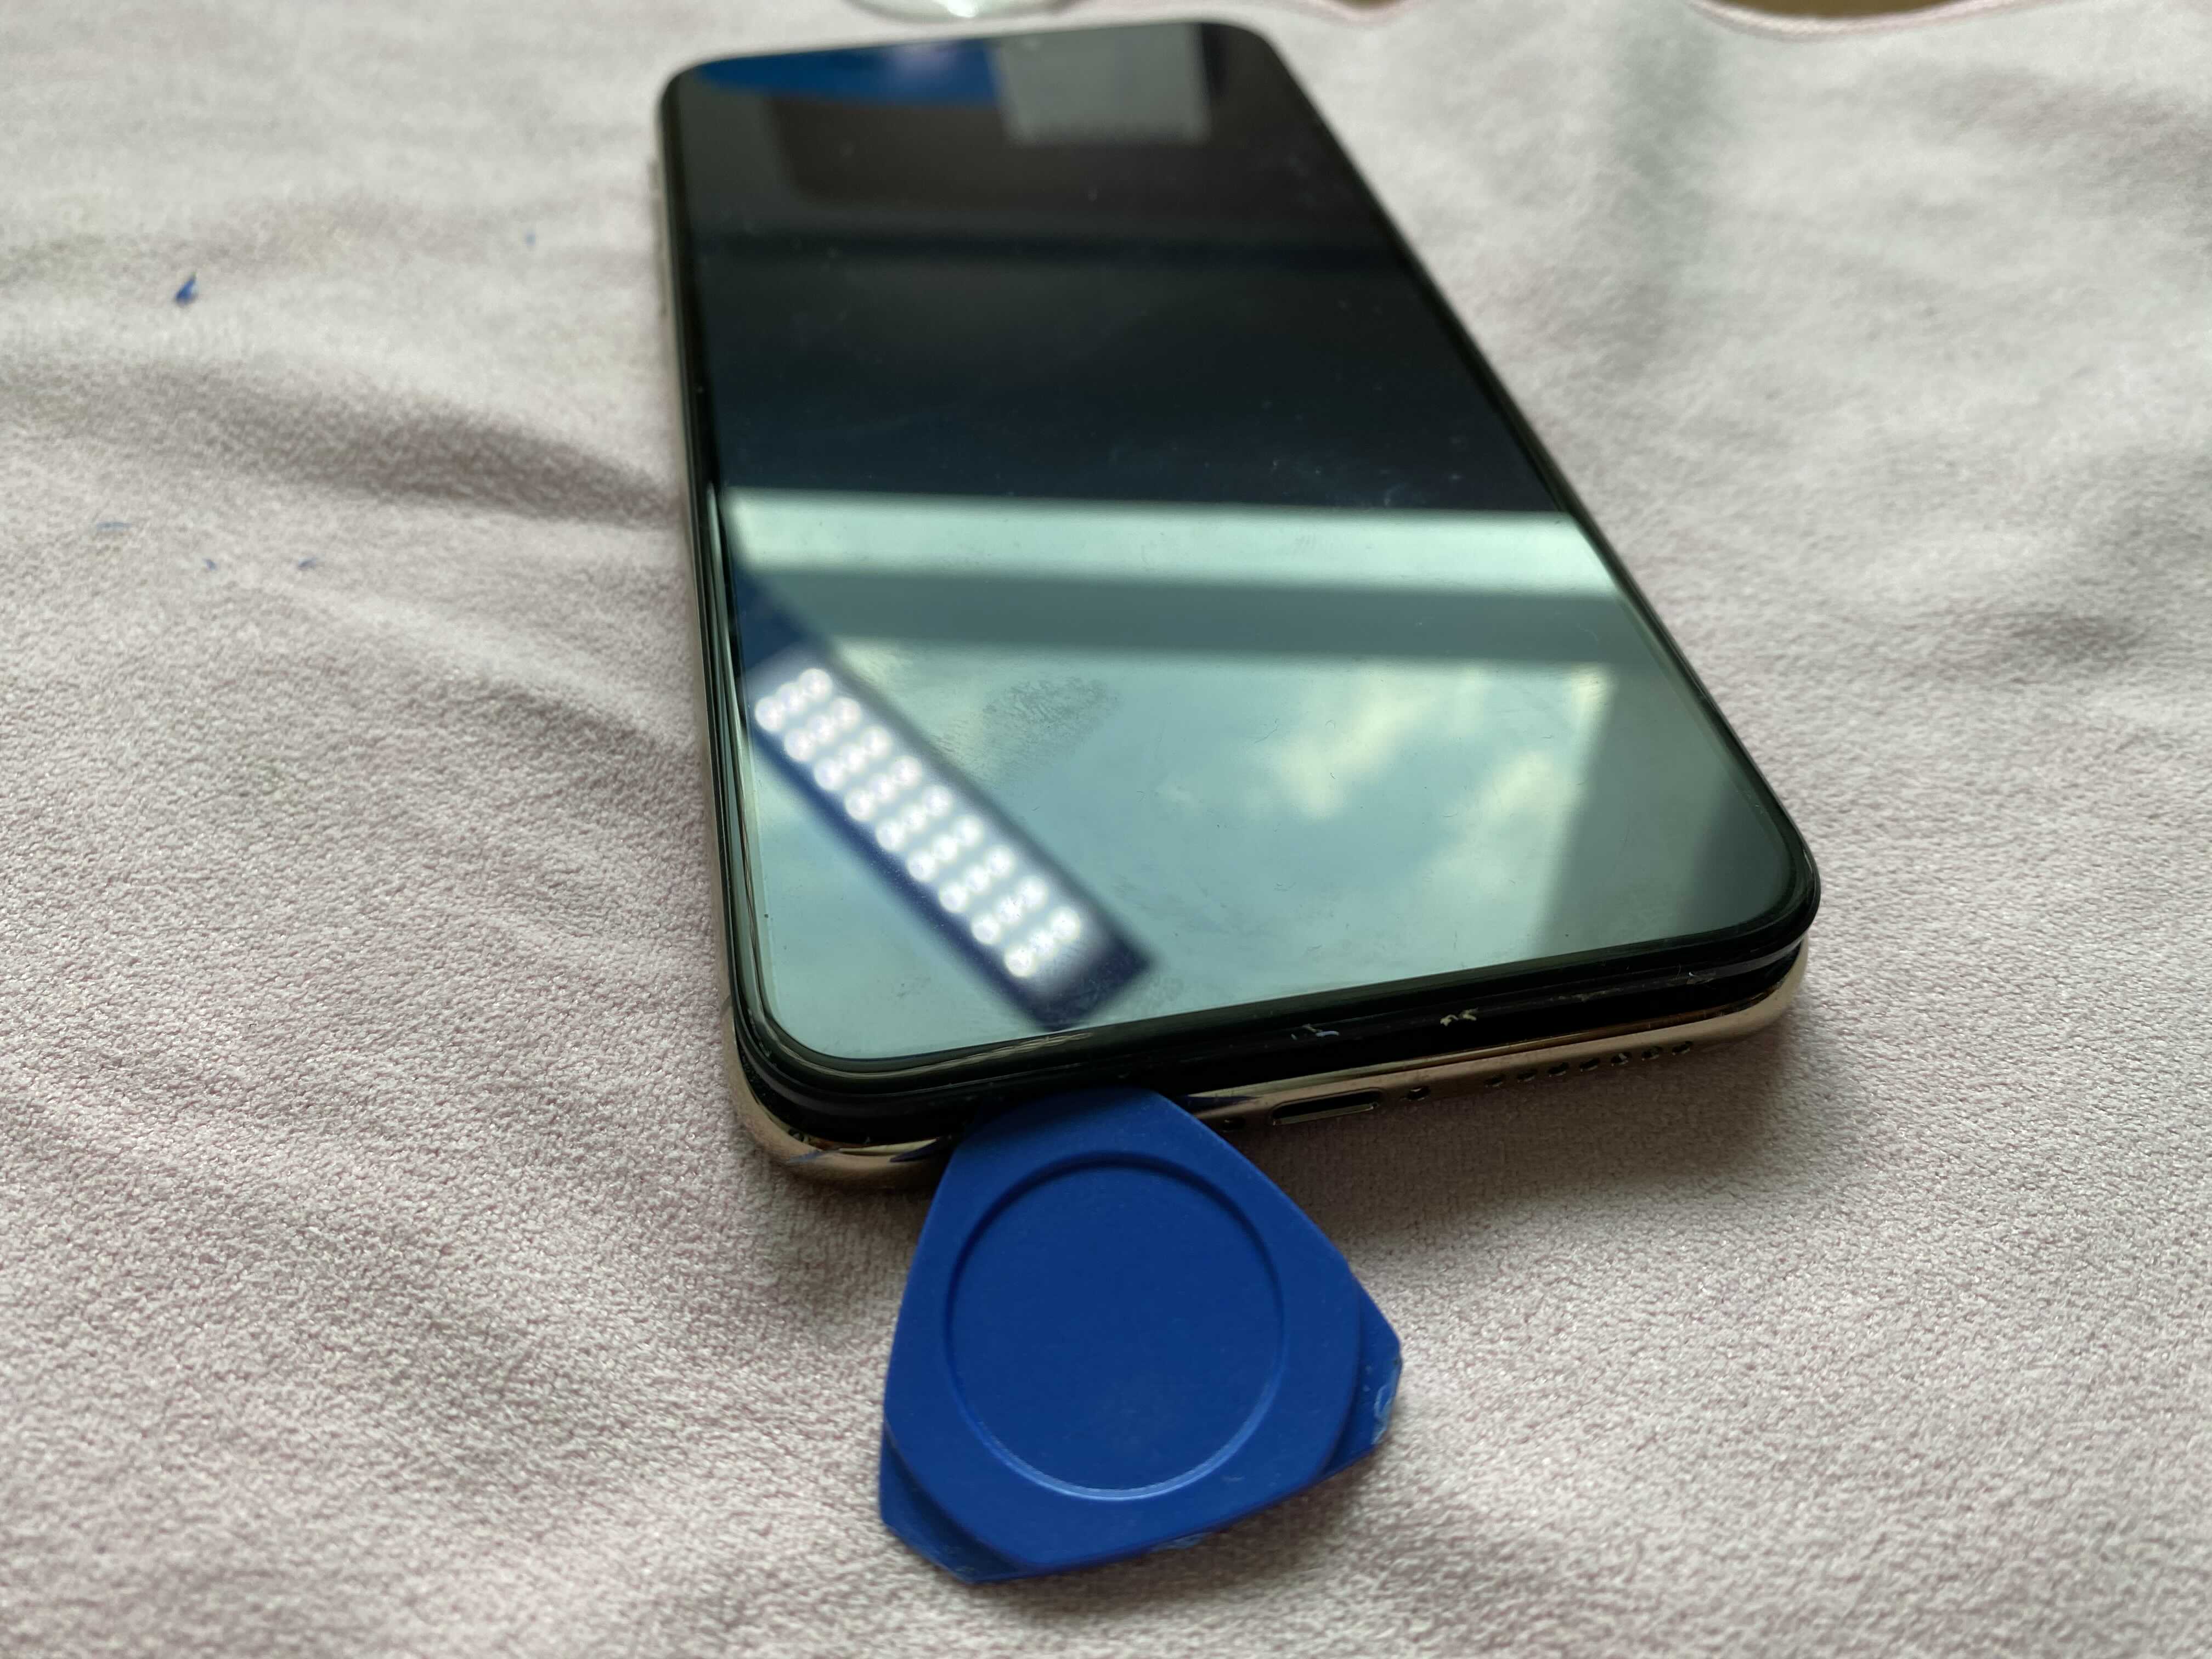
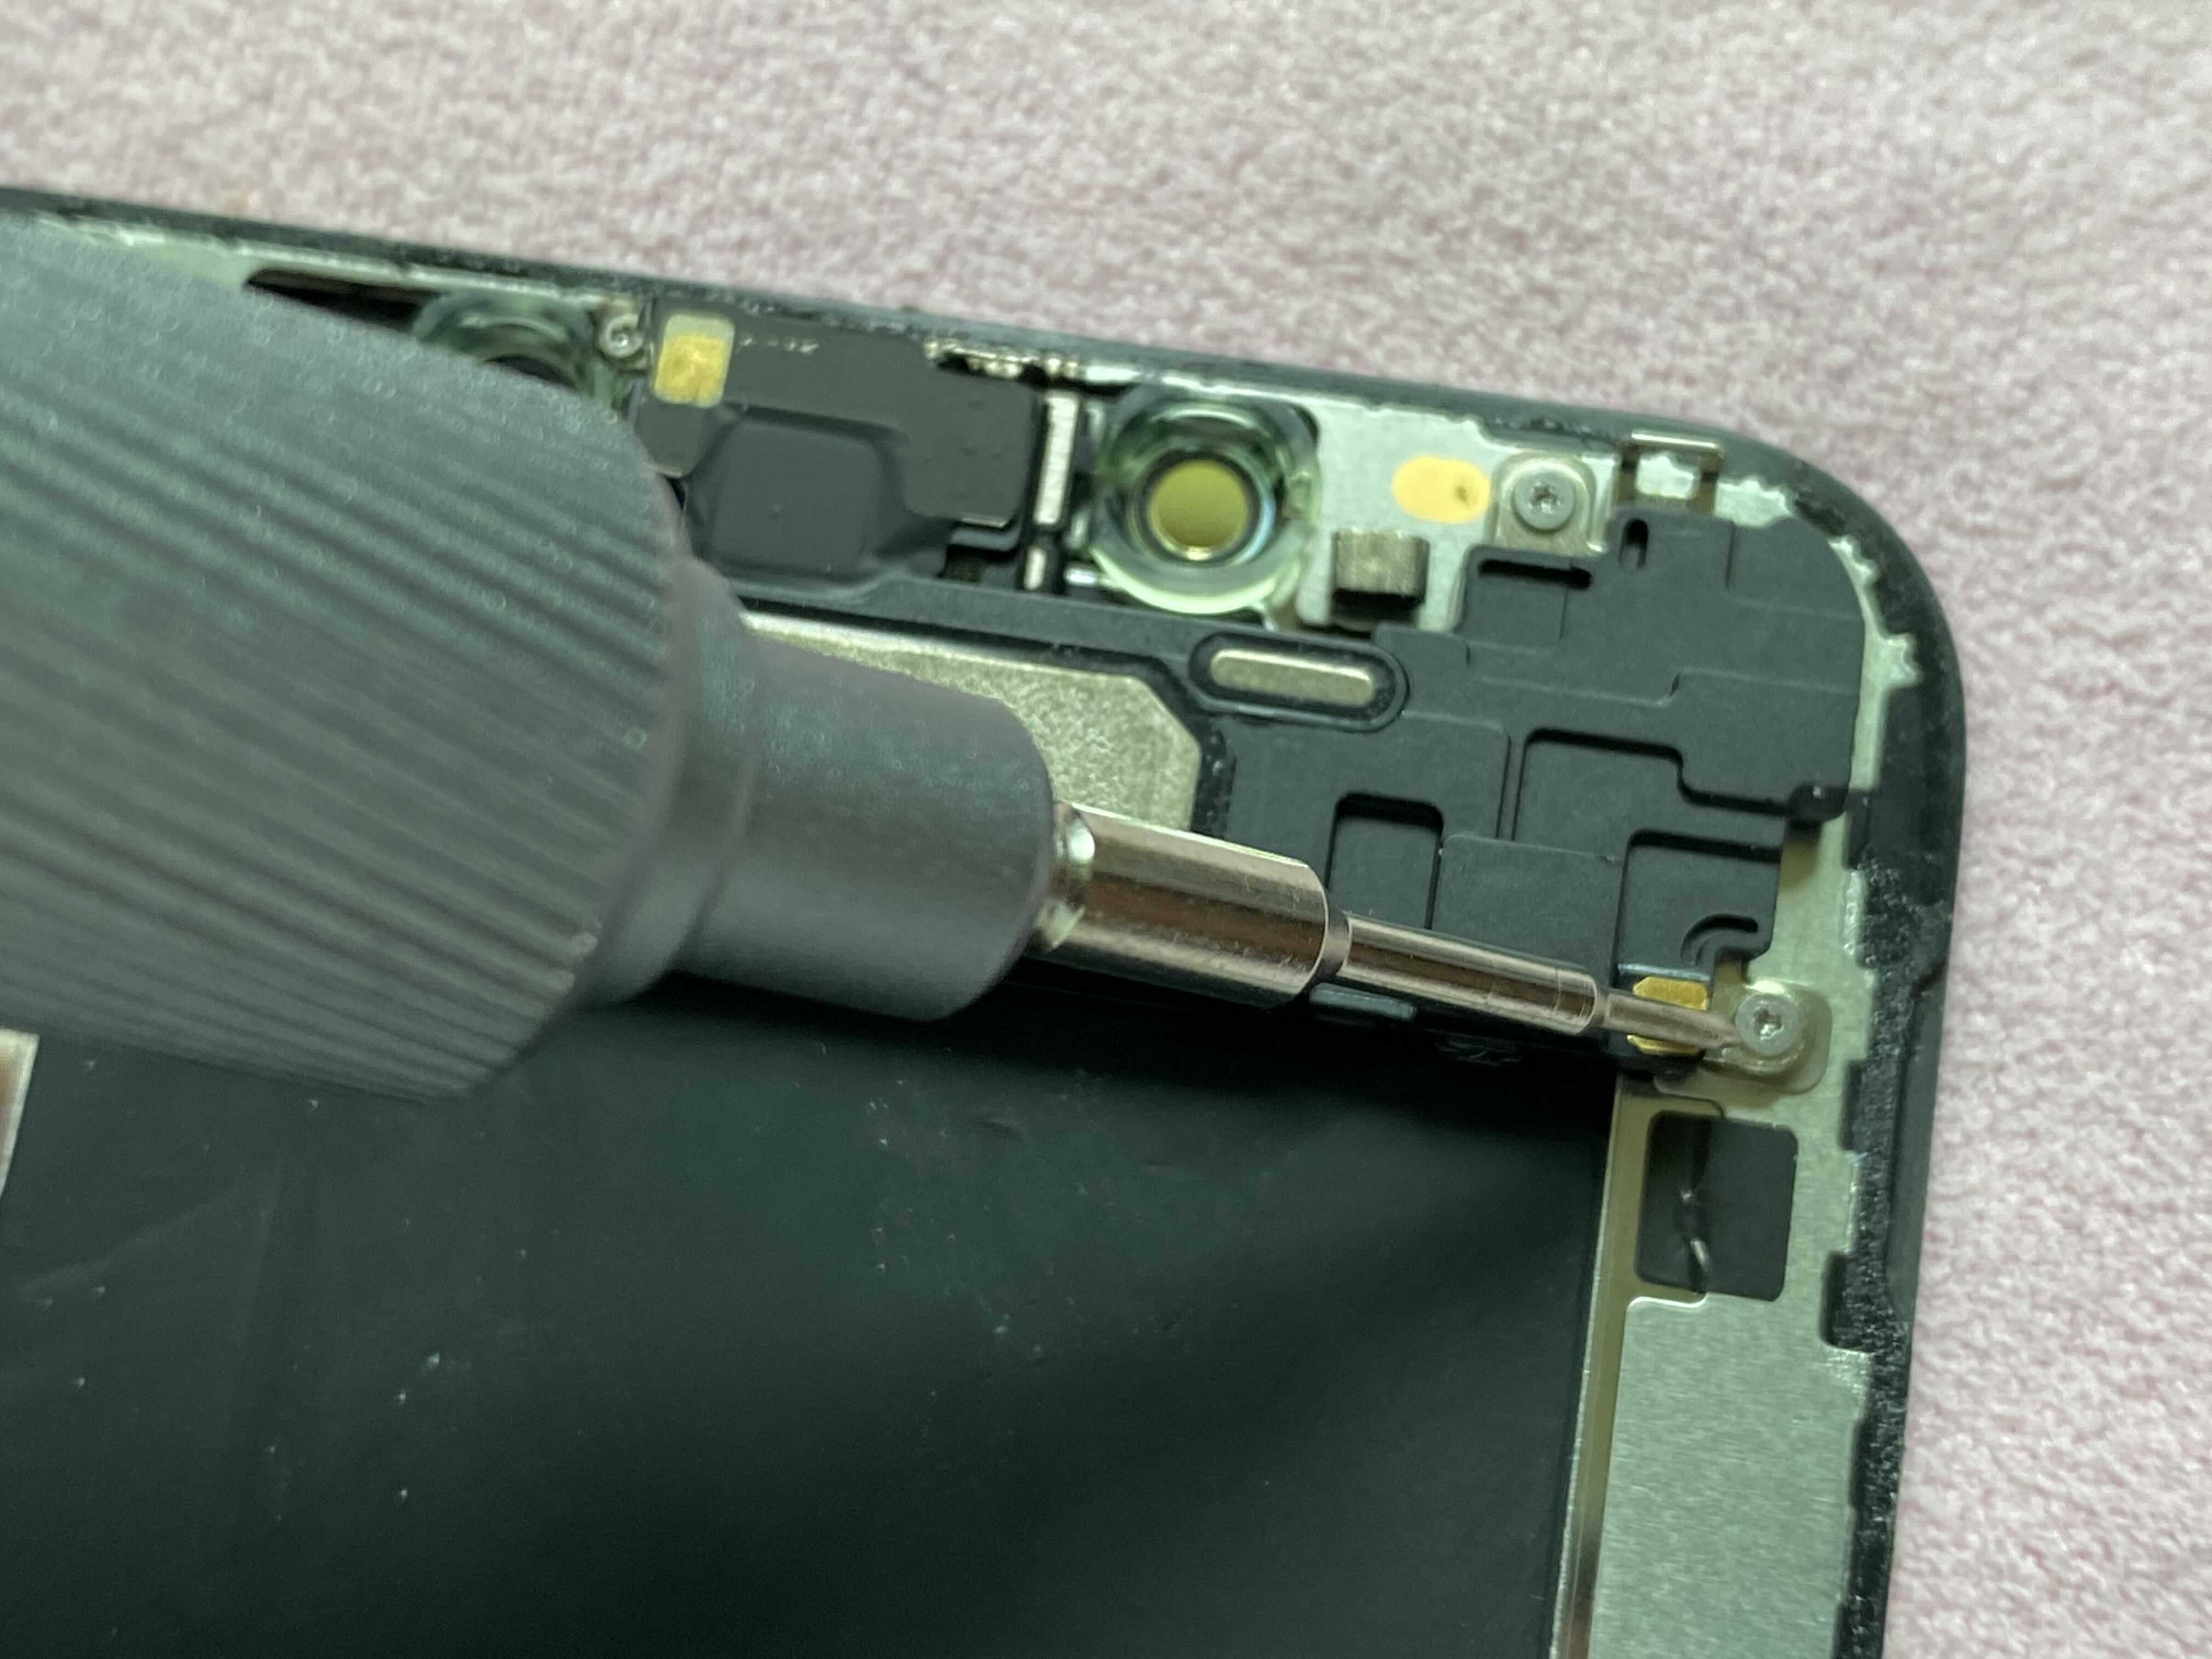
지난 반에 액정 분리하고 페이스 아이디를 담당하는 부품을 분리하려다 나사가 풀리지 않아 포기했던 것을 만회하기 위해 드라이버를 하나 샀습니다. 5.98달러가 들었는데요, 아주 잘 풀립니다. 잘 샀네요. 나사가 안 풀리면 억지로 풀면 안됩니다.
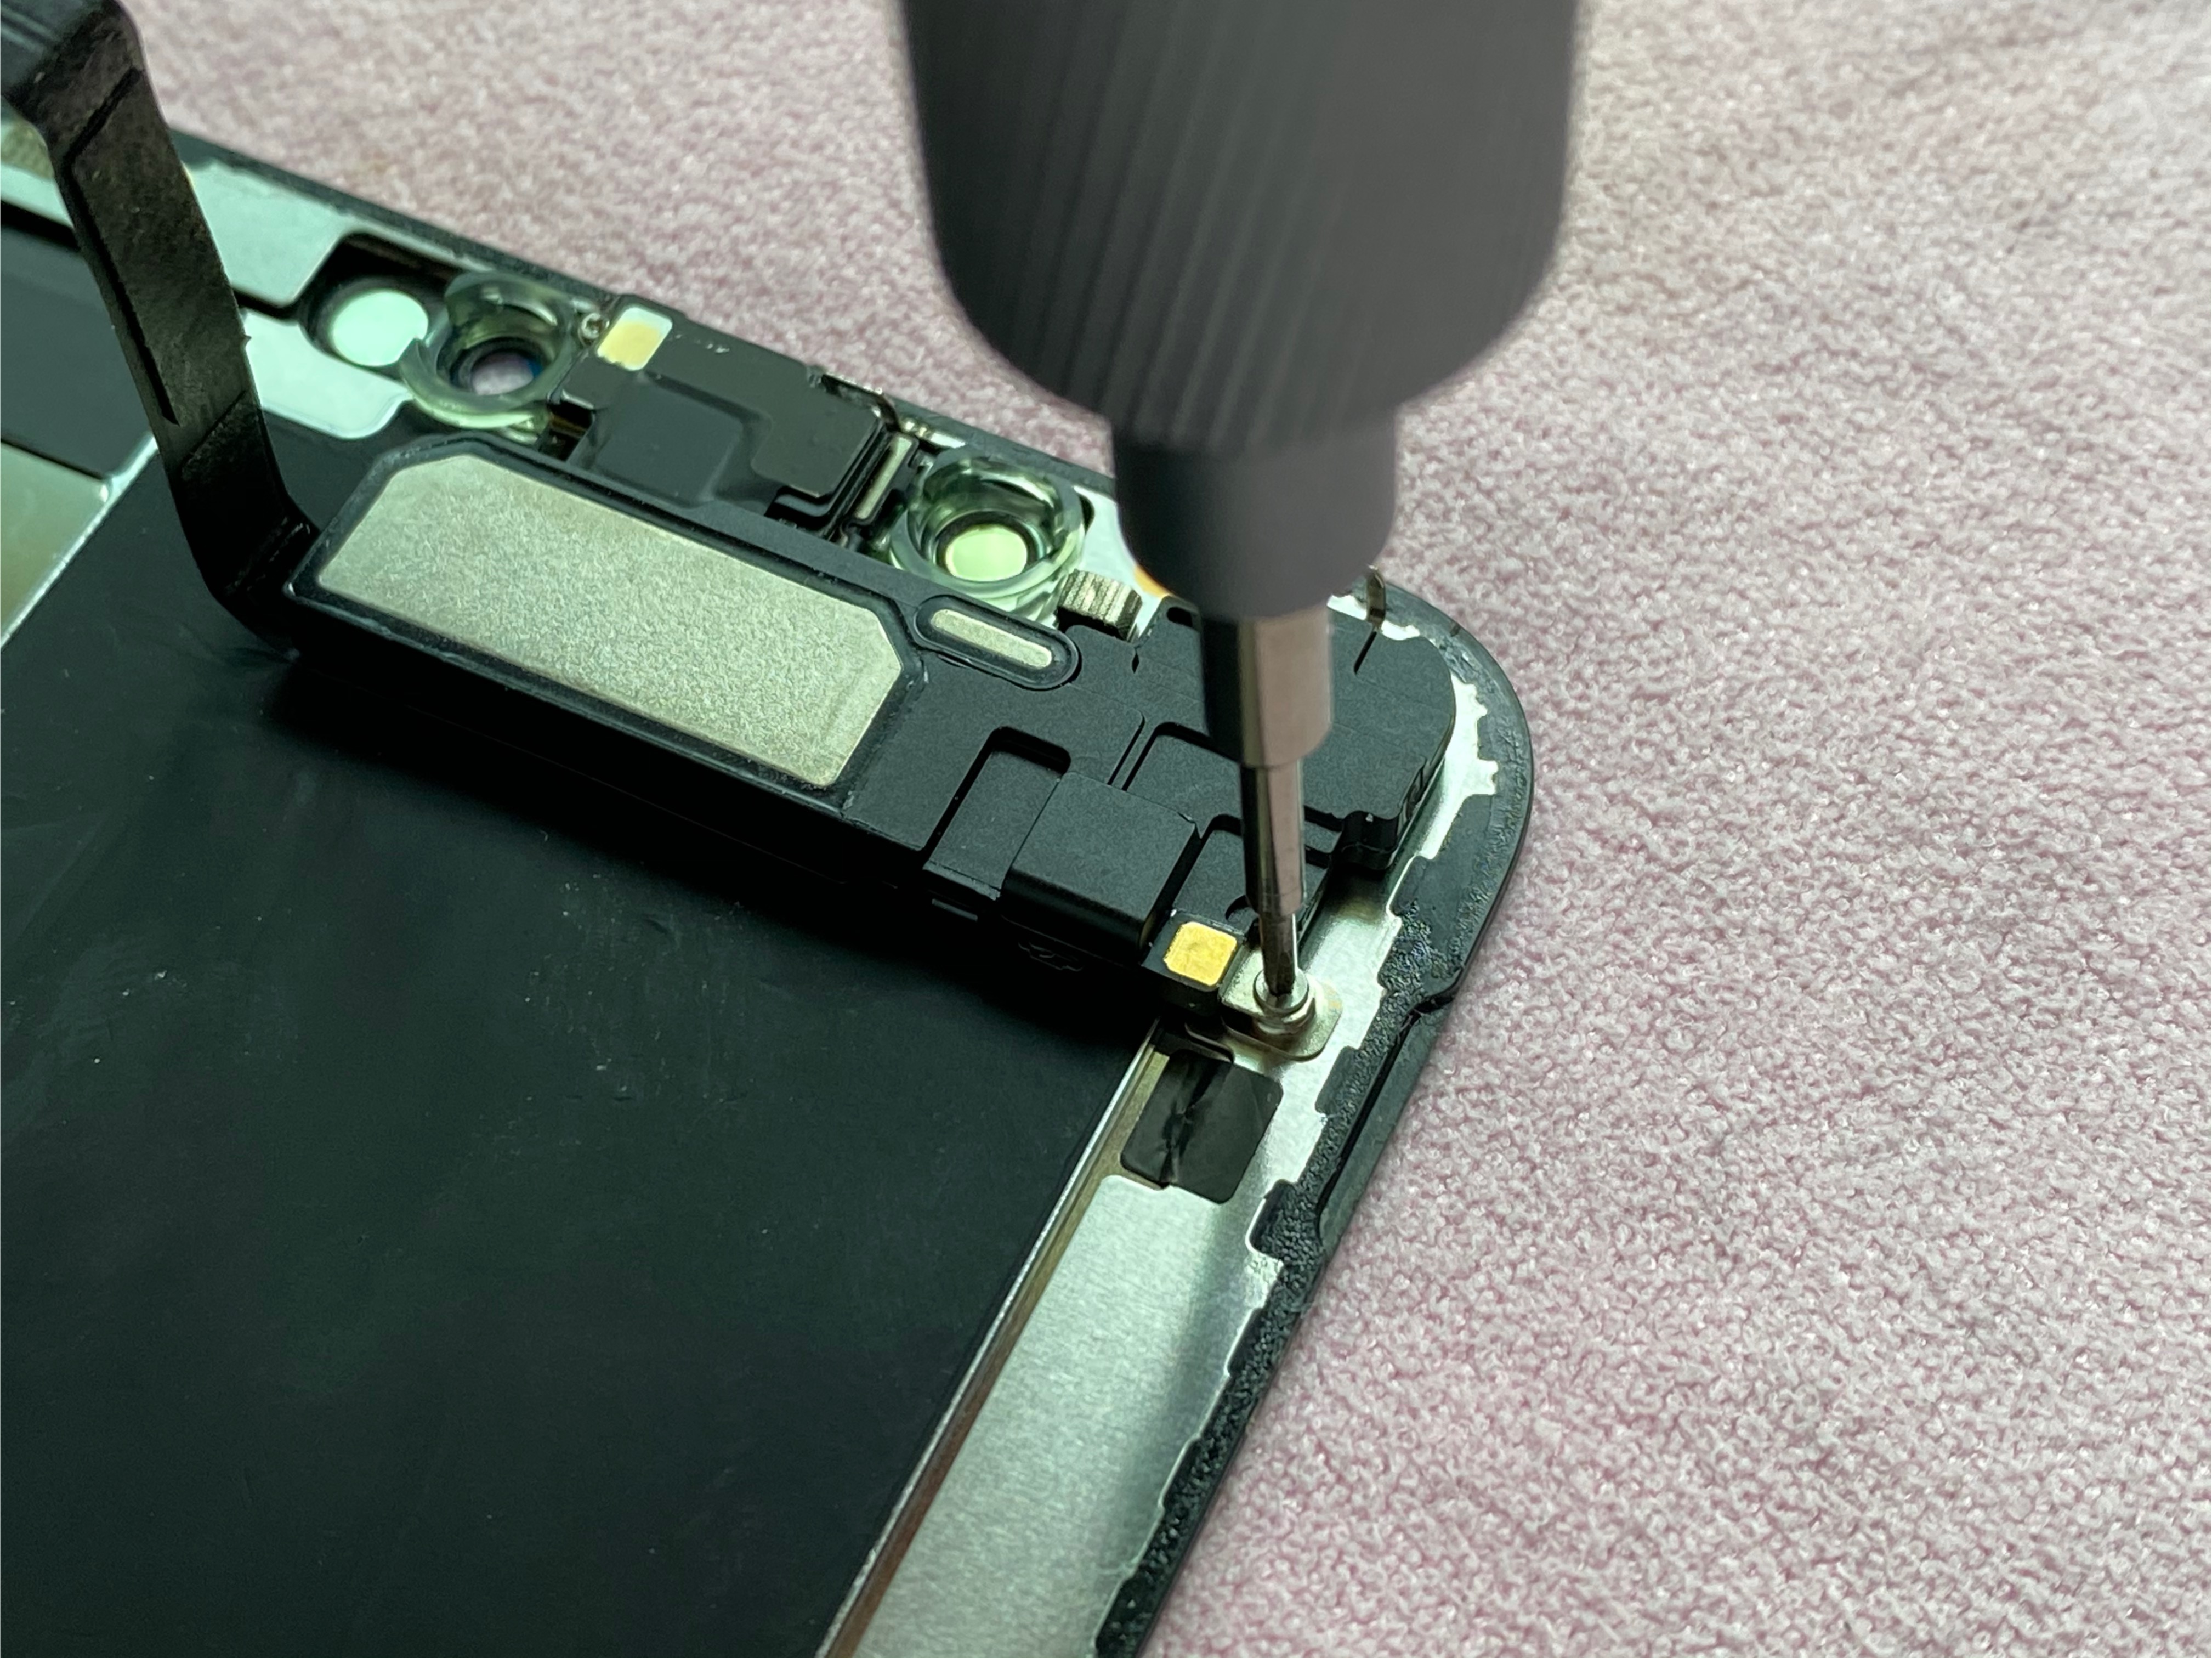
보호판을 분리해 납니다. 새오산 y자 드라이버를 잘 샀다고 또 느껴집니다. 힘 들이지 않고 잘 풀립니다.
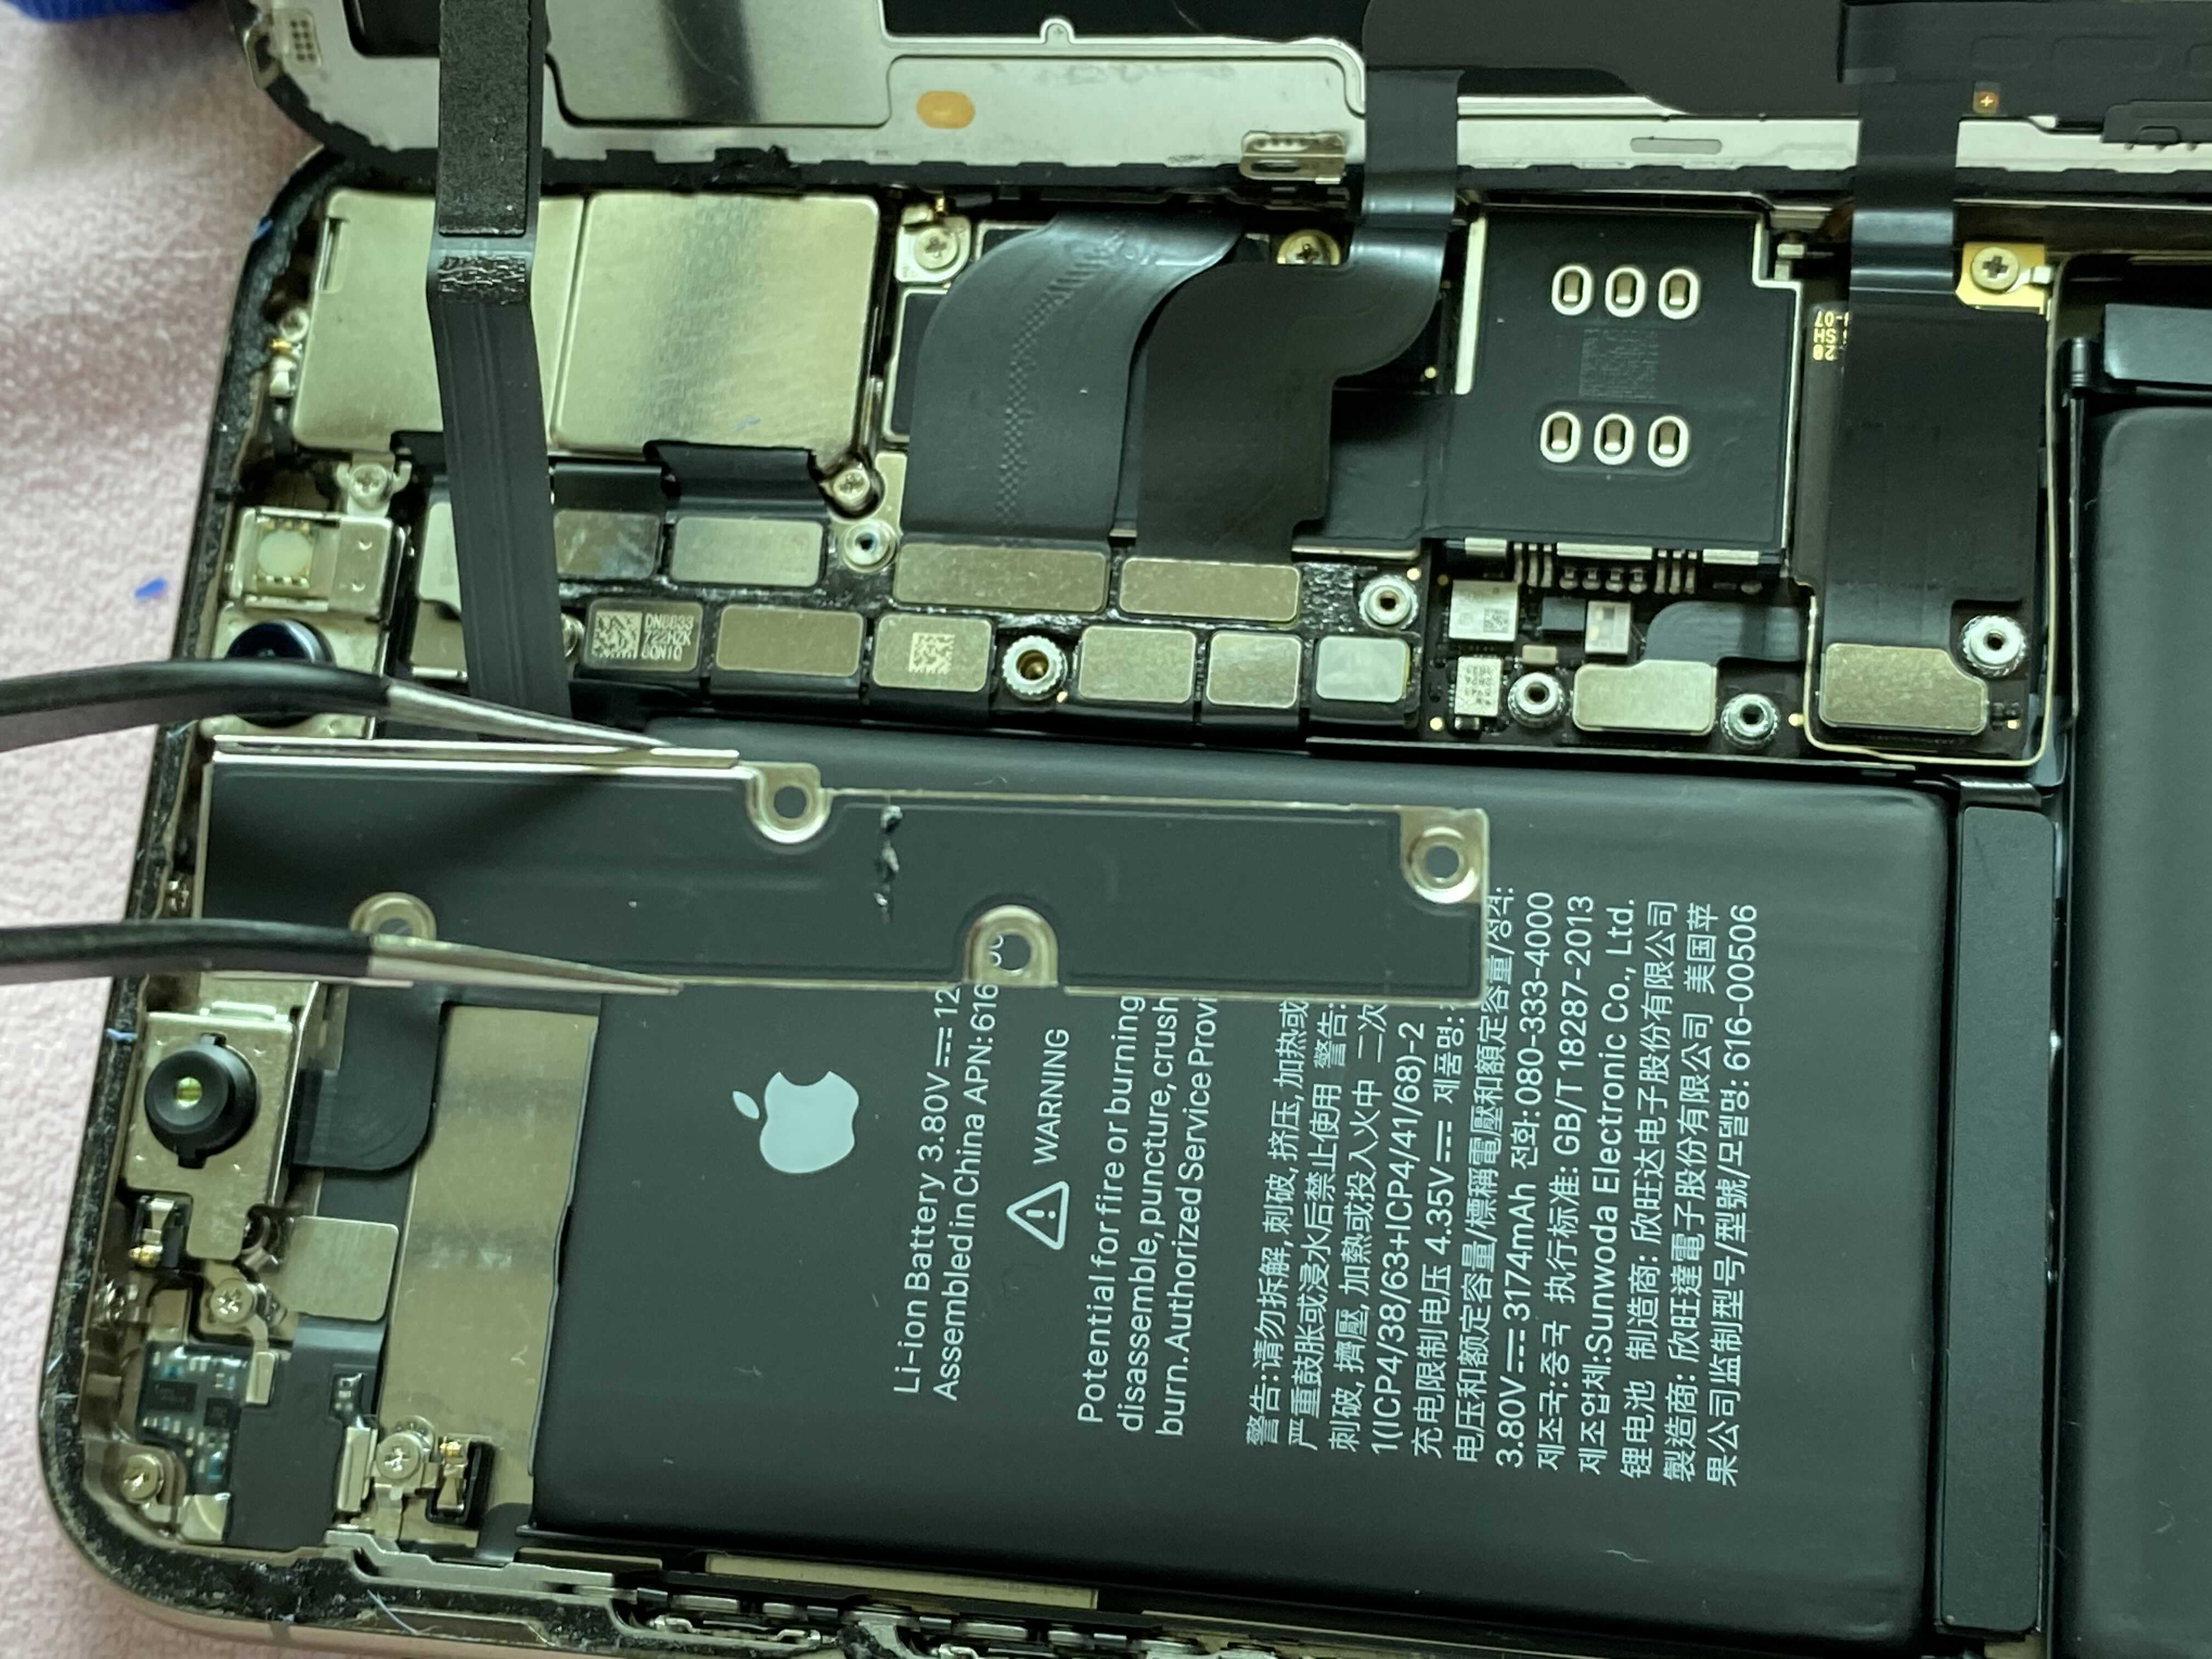
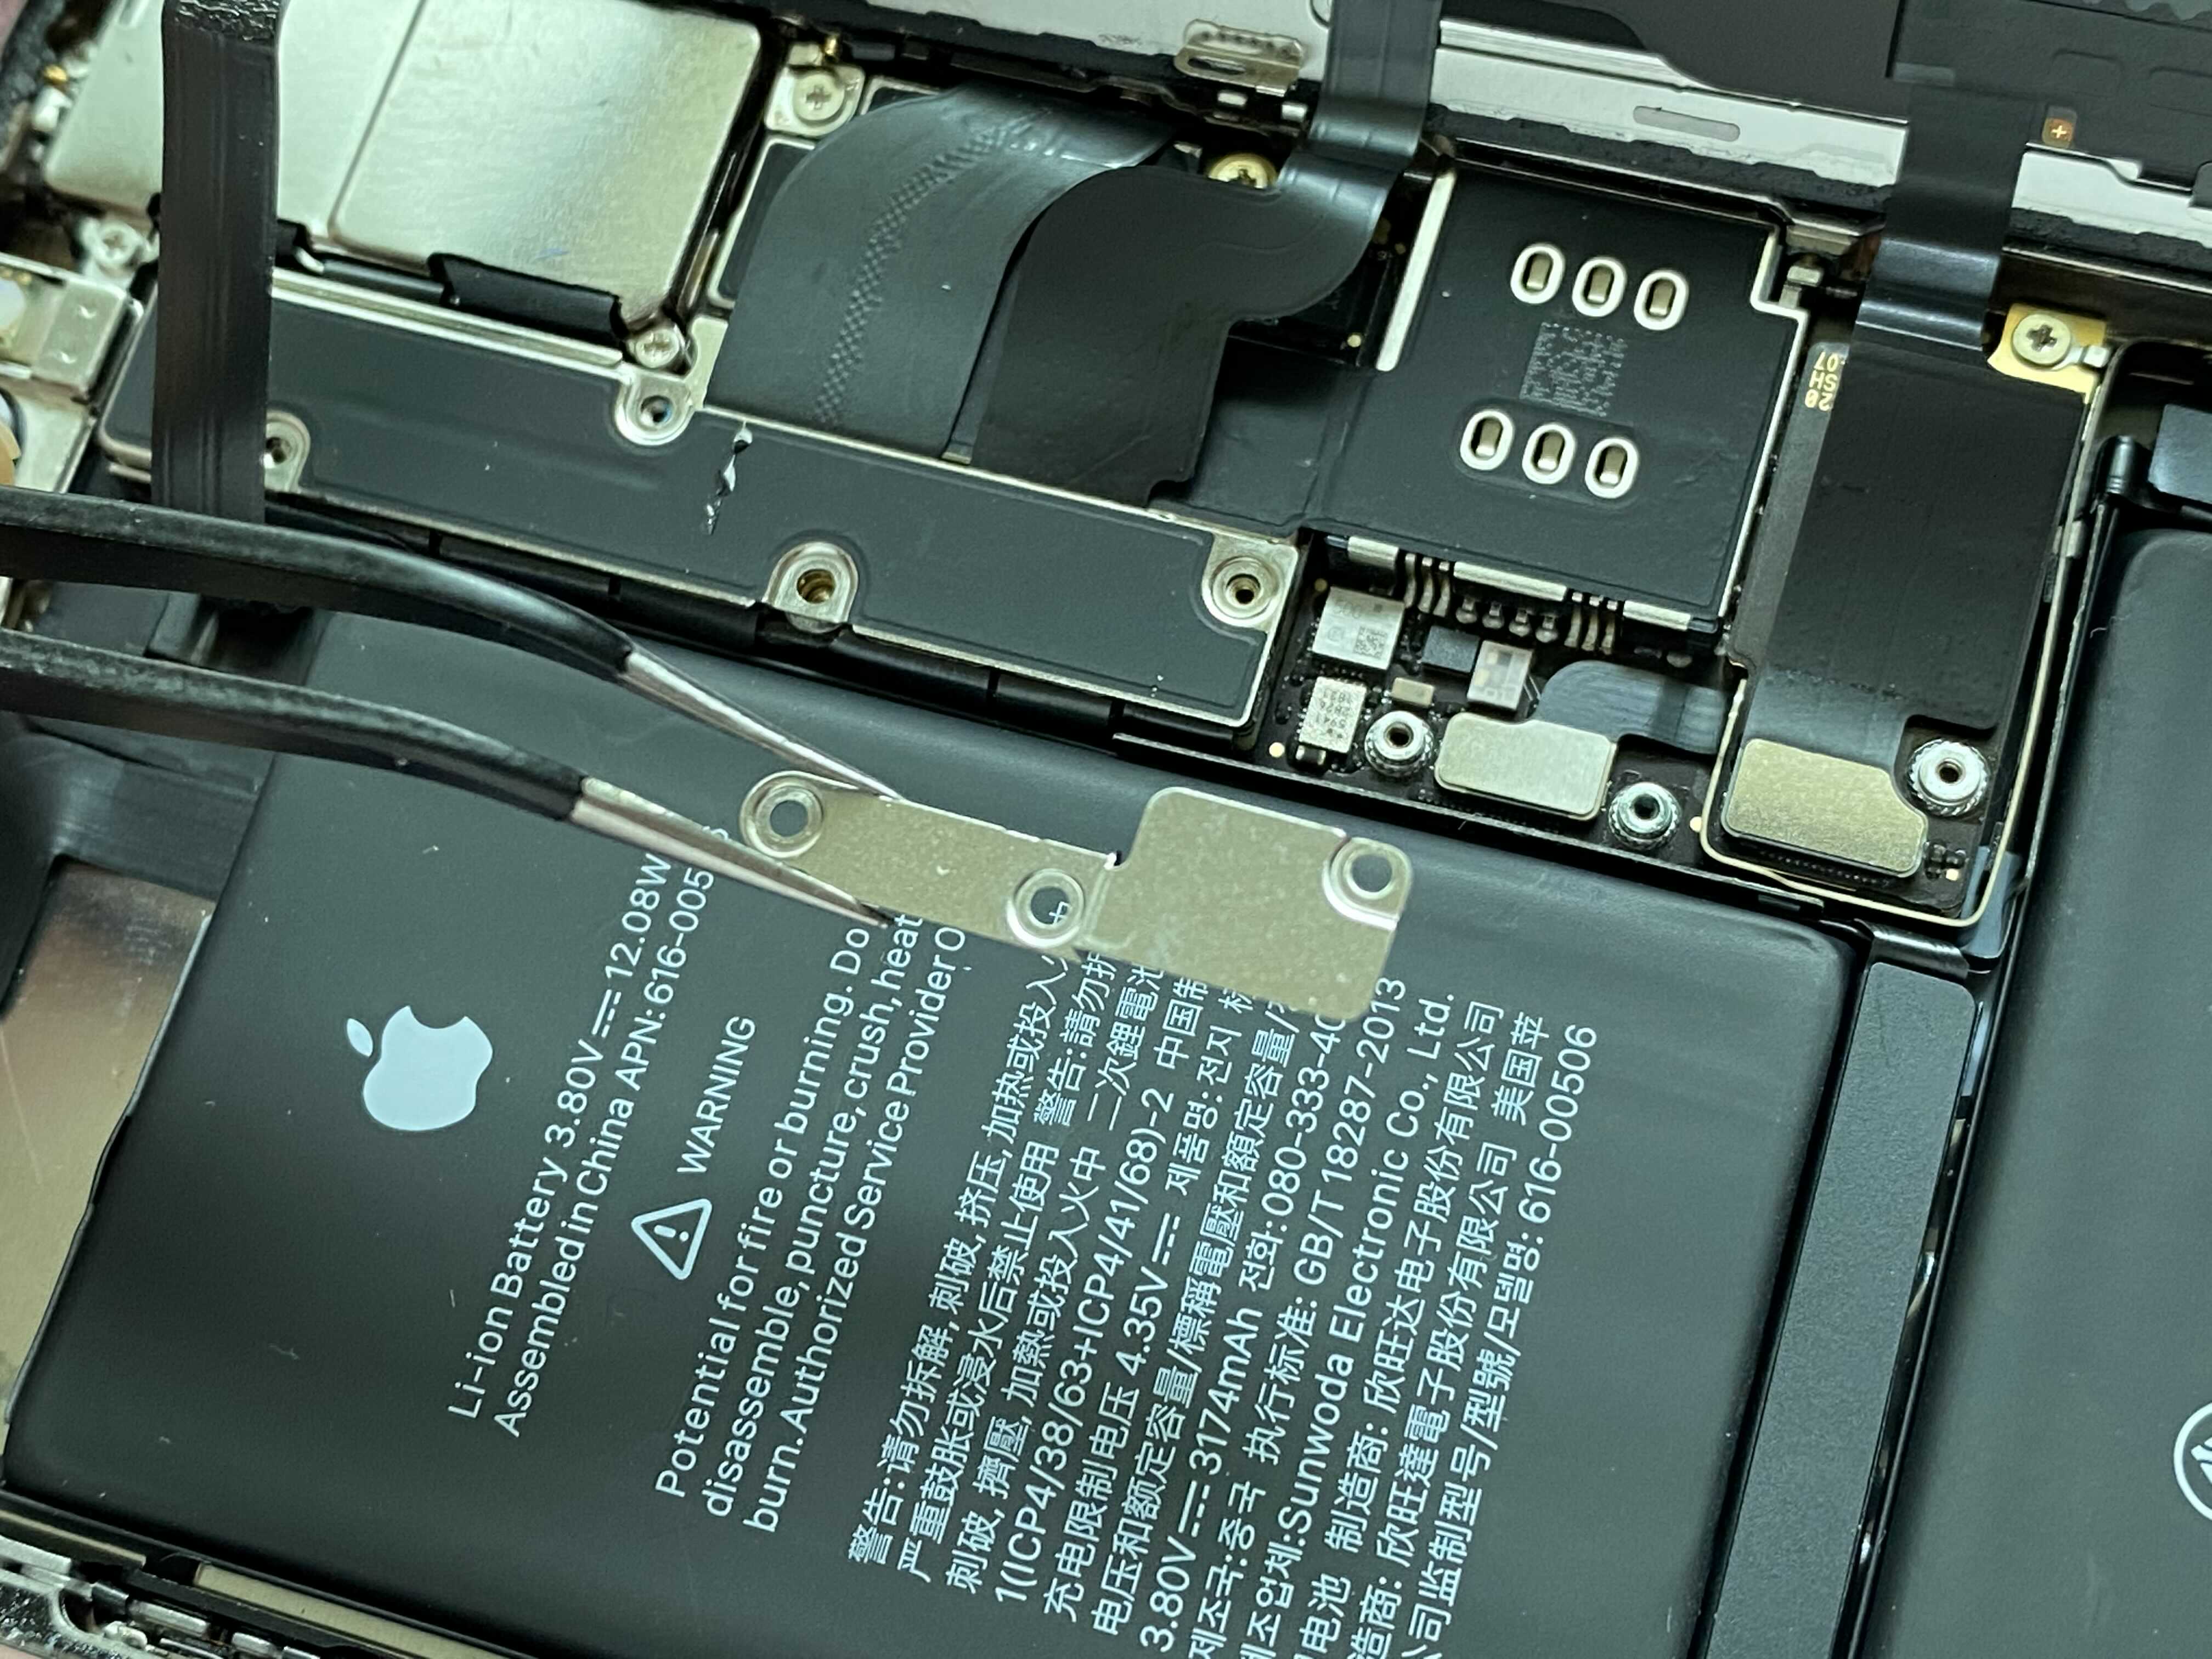
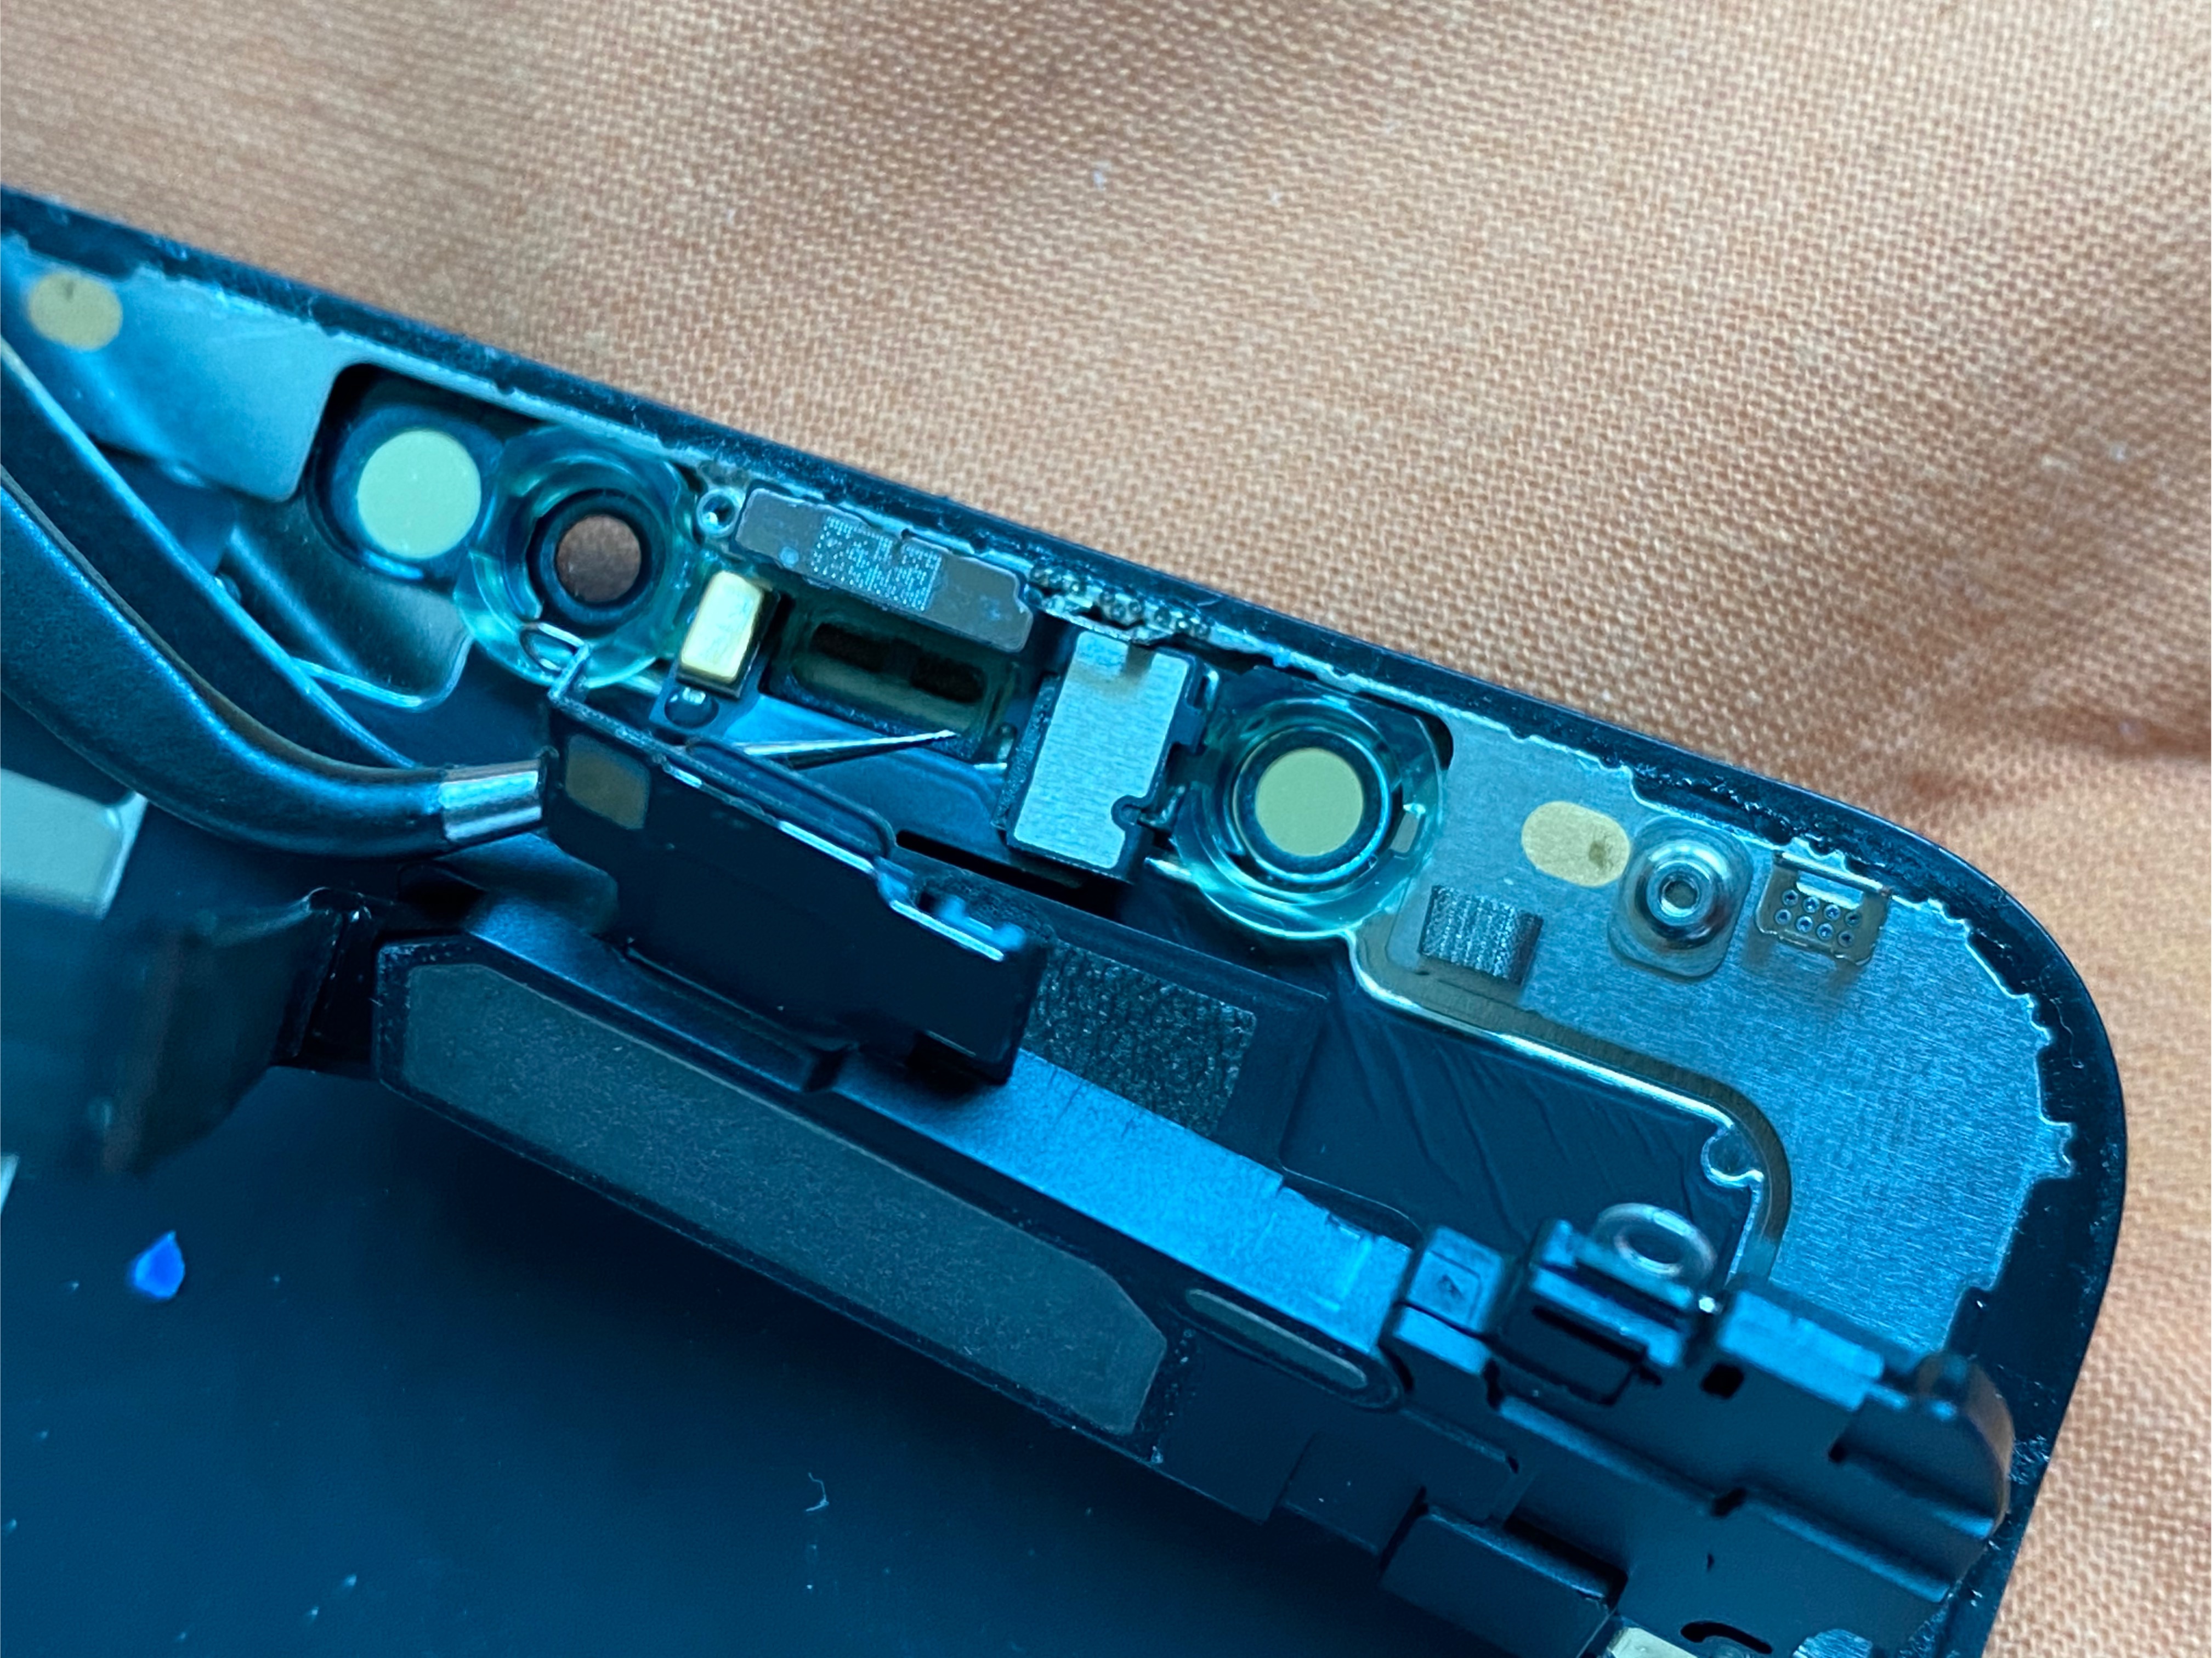
커넥터 3개를 분리하면 됩니다. 맨 아래는 햅틱관련, 두번째는 액정관련, 세번째는 스피커 마이크 페이스아니디 관련이라고 하네요.


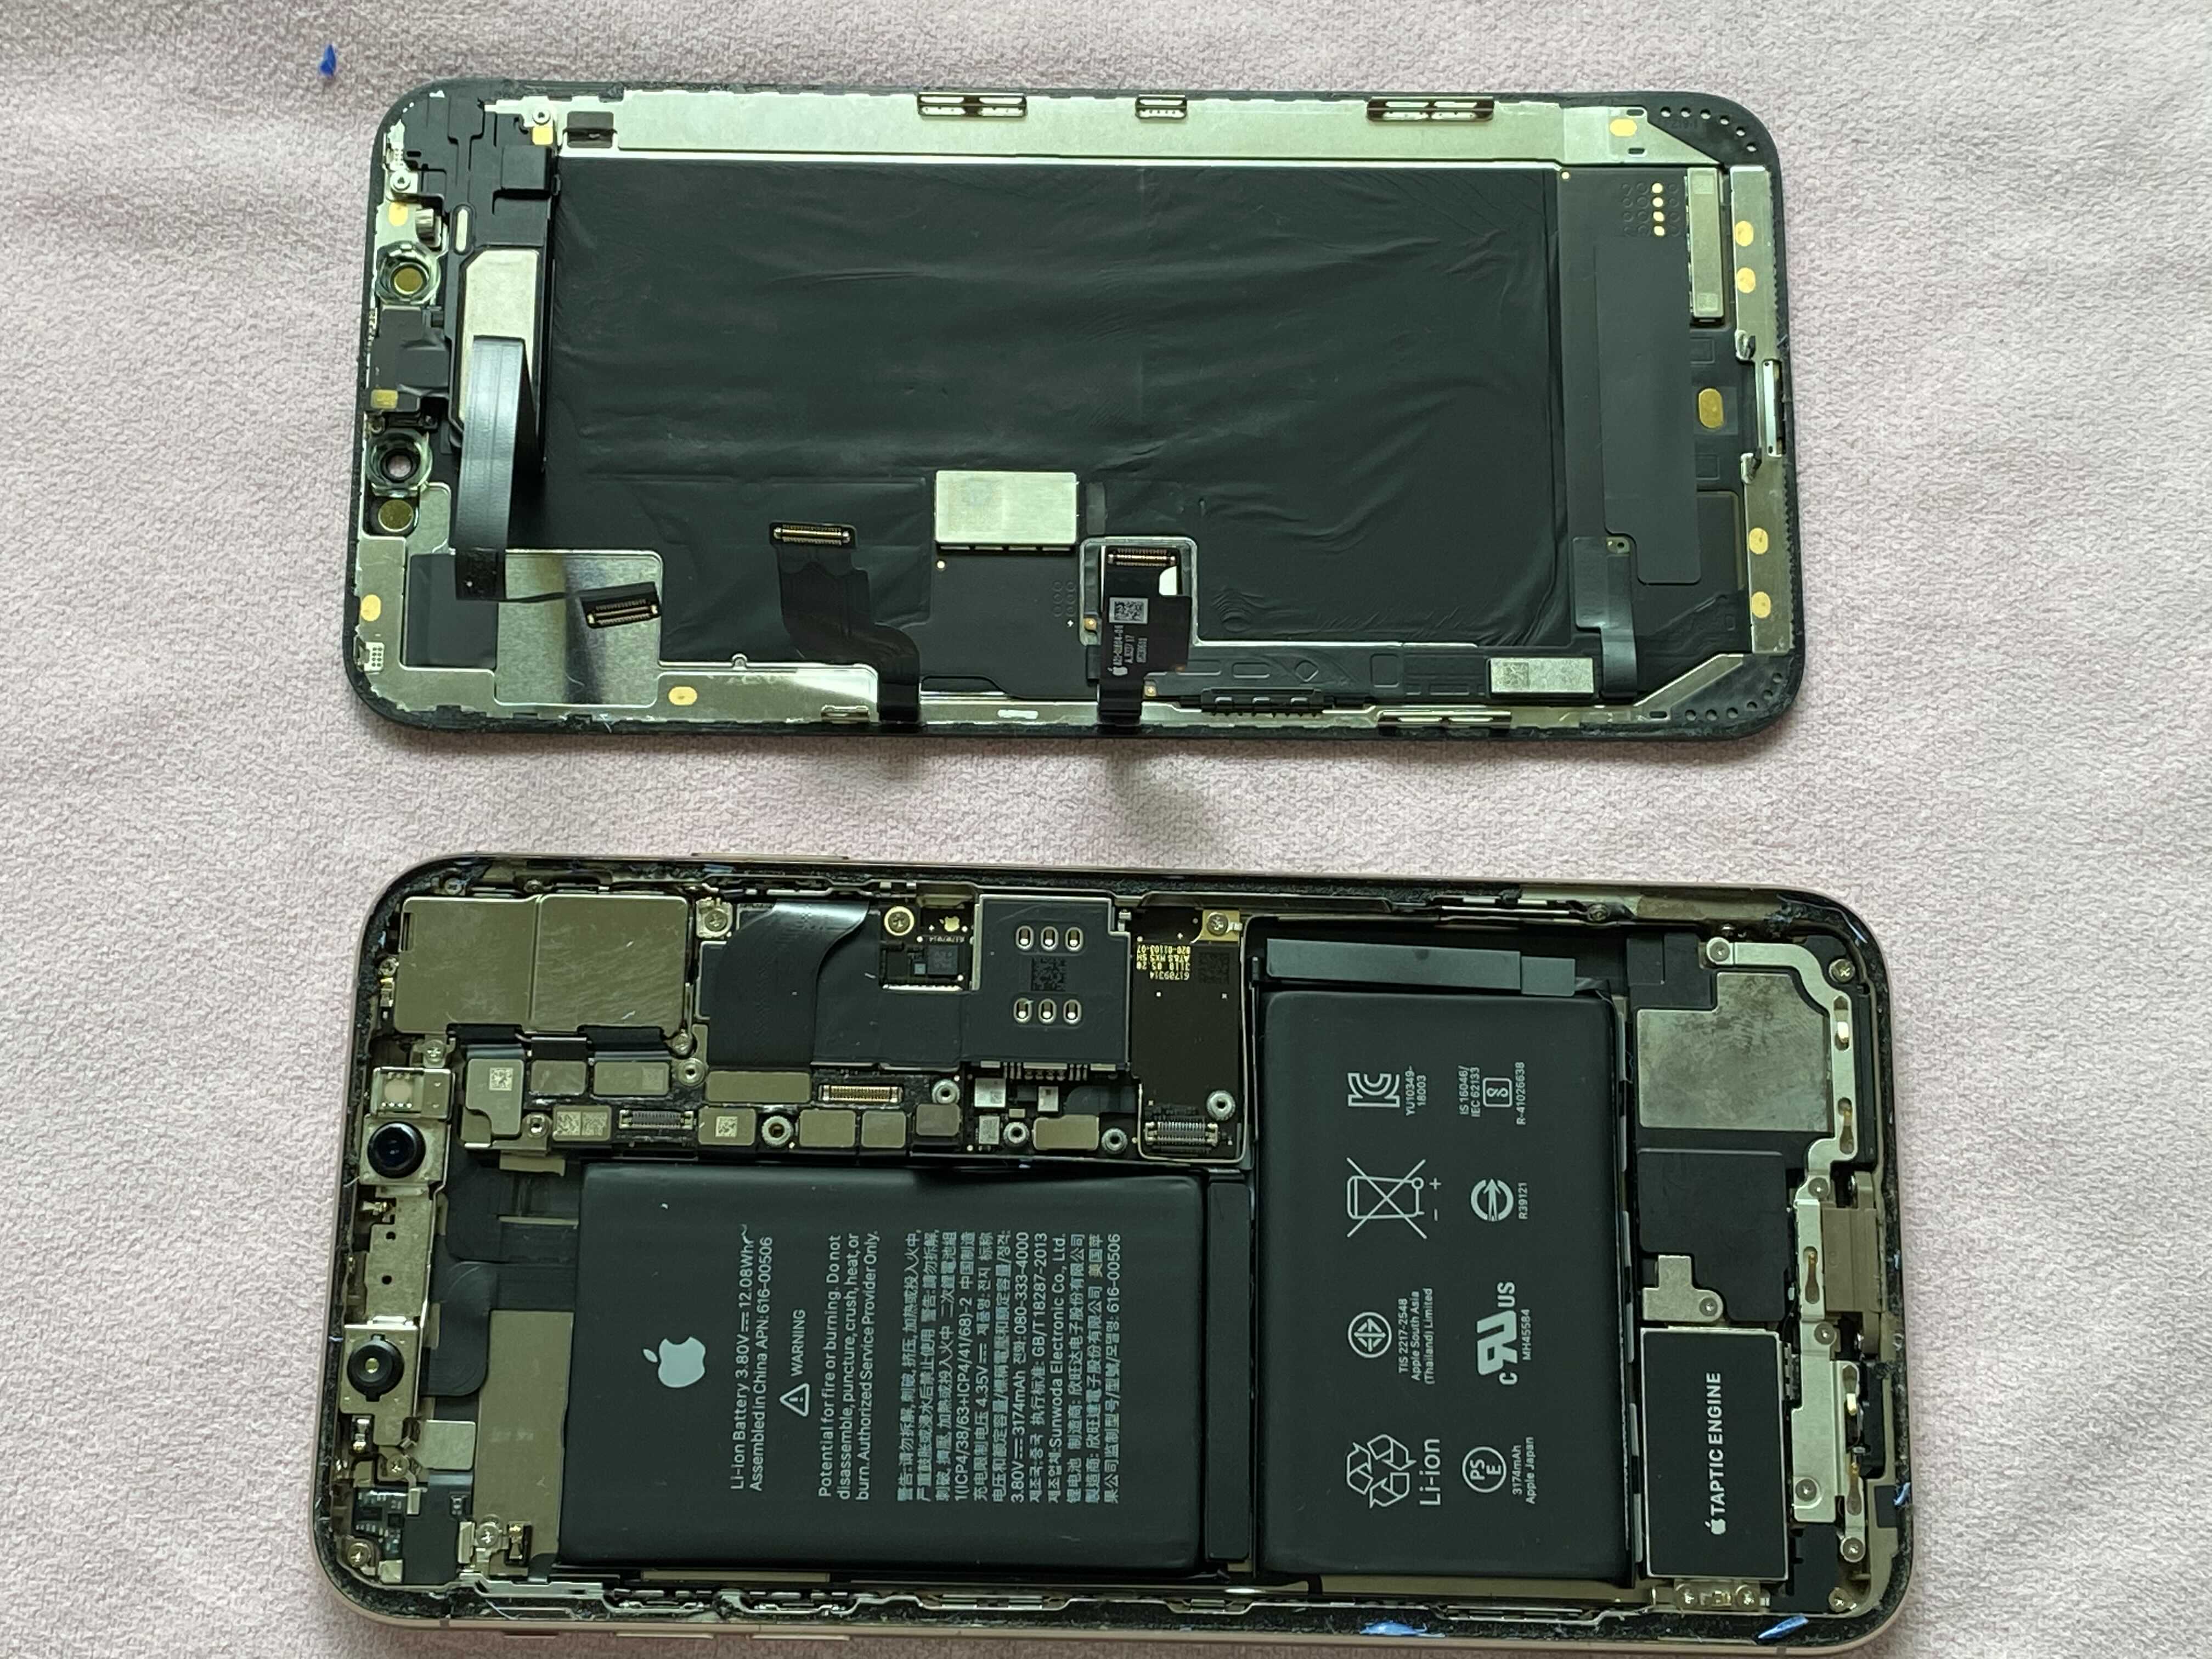
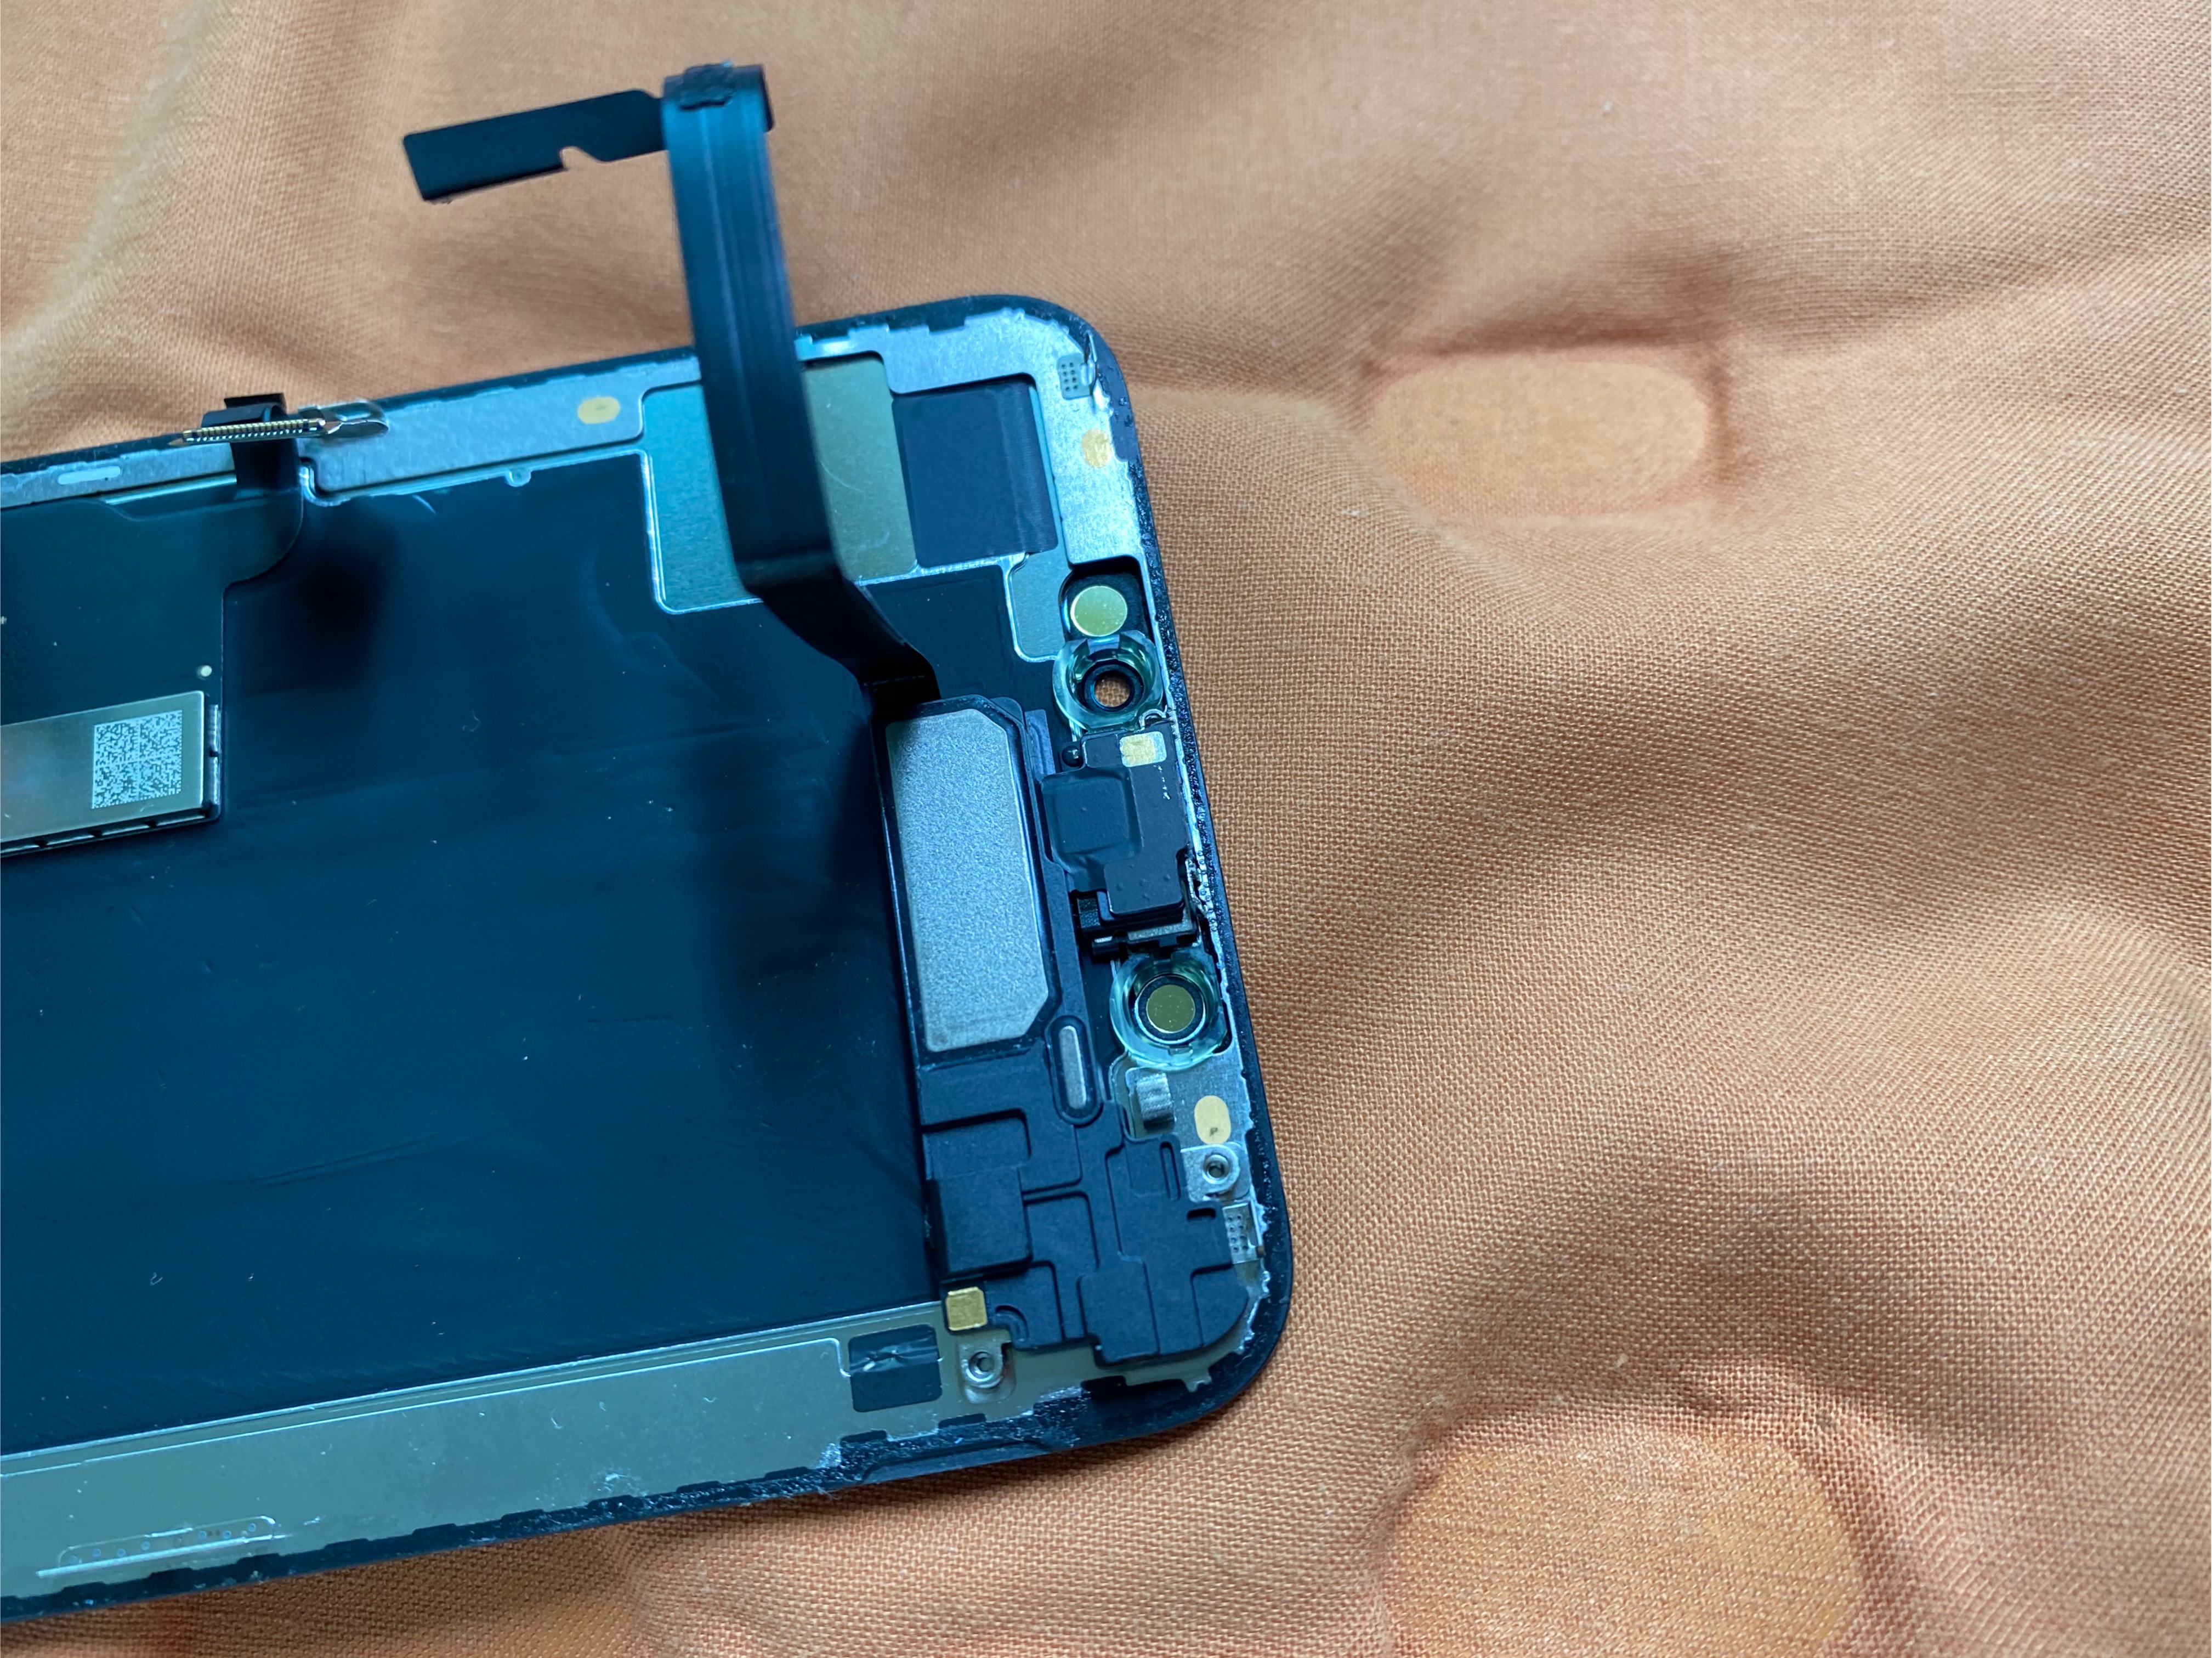
본체와 액정 분리한 모습입니다.
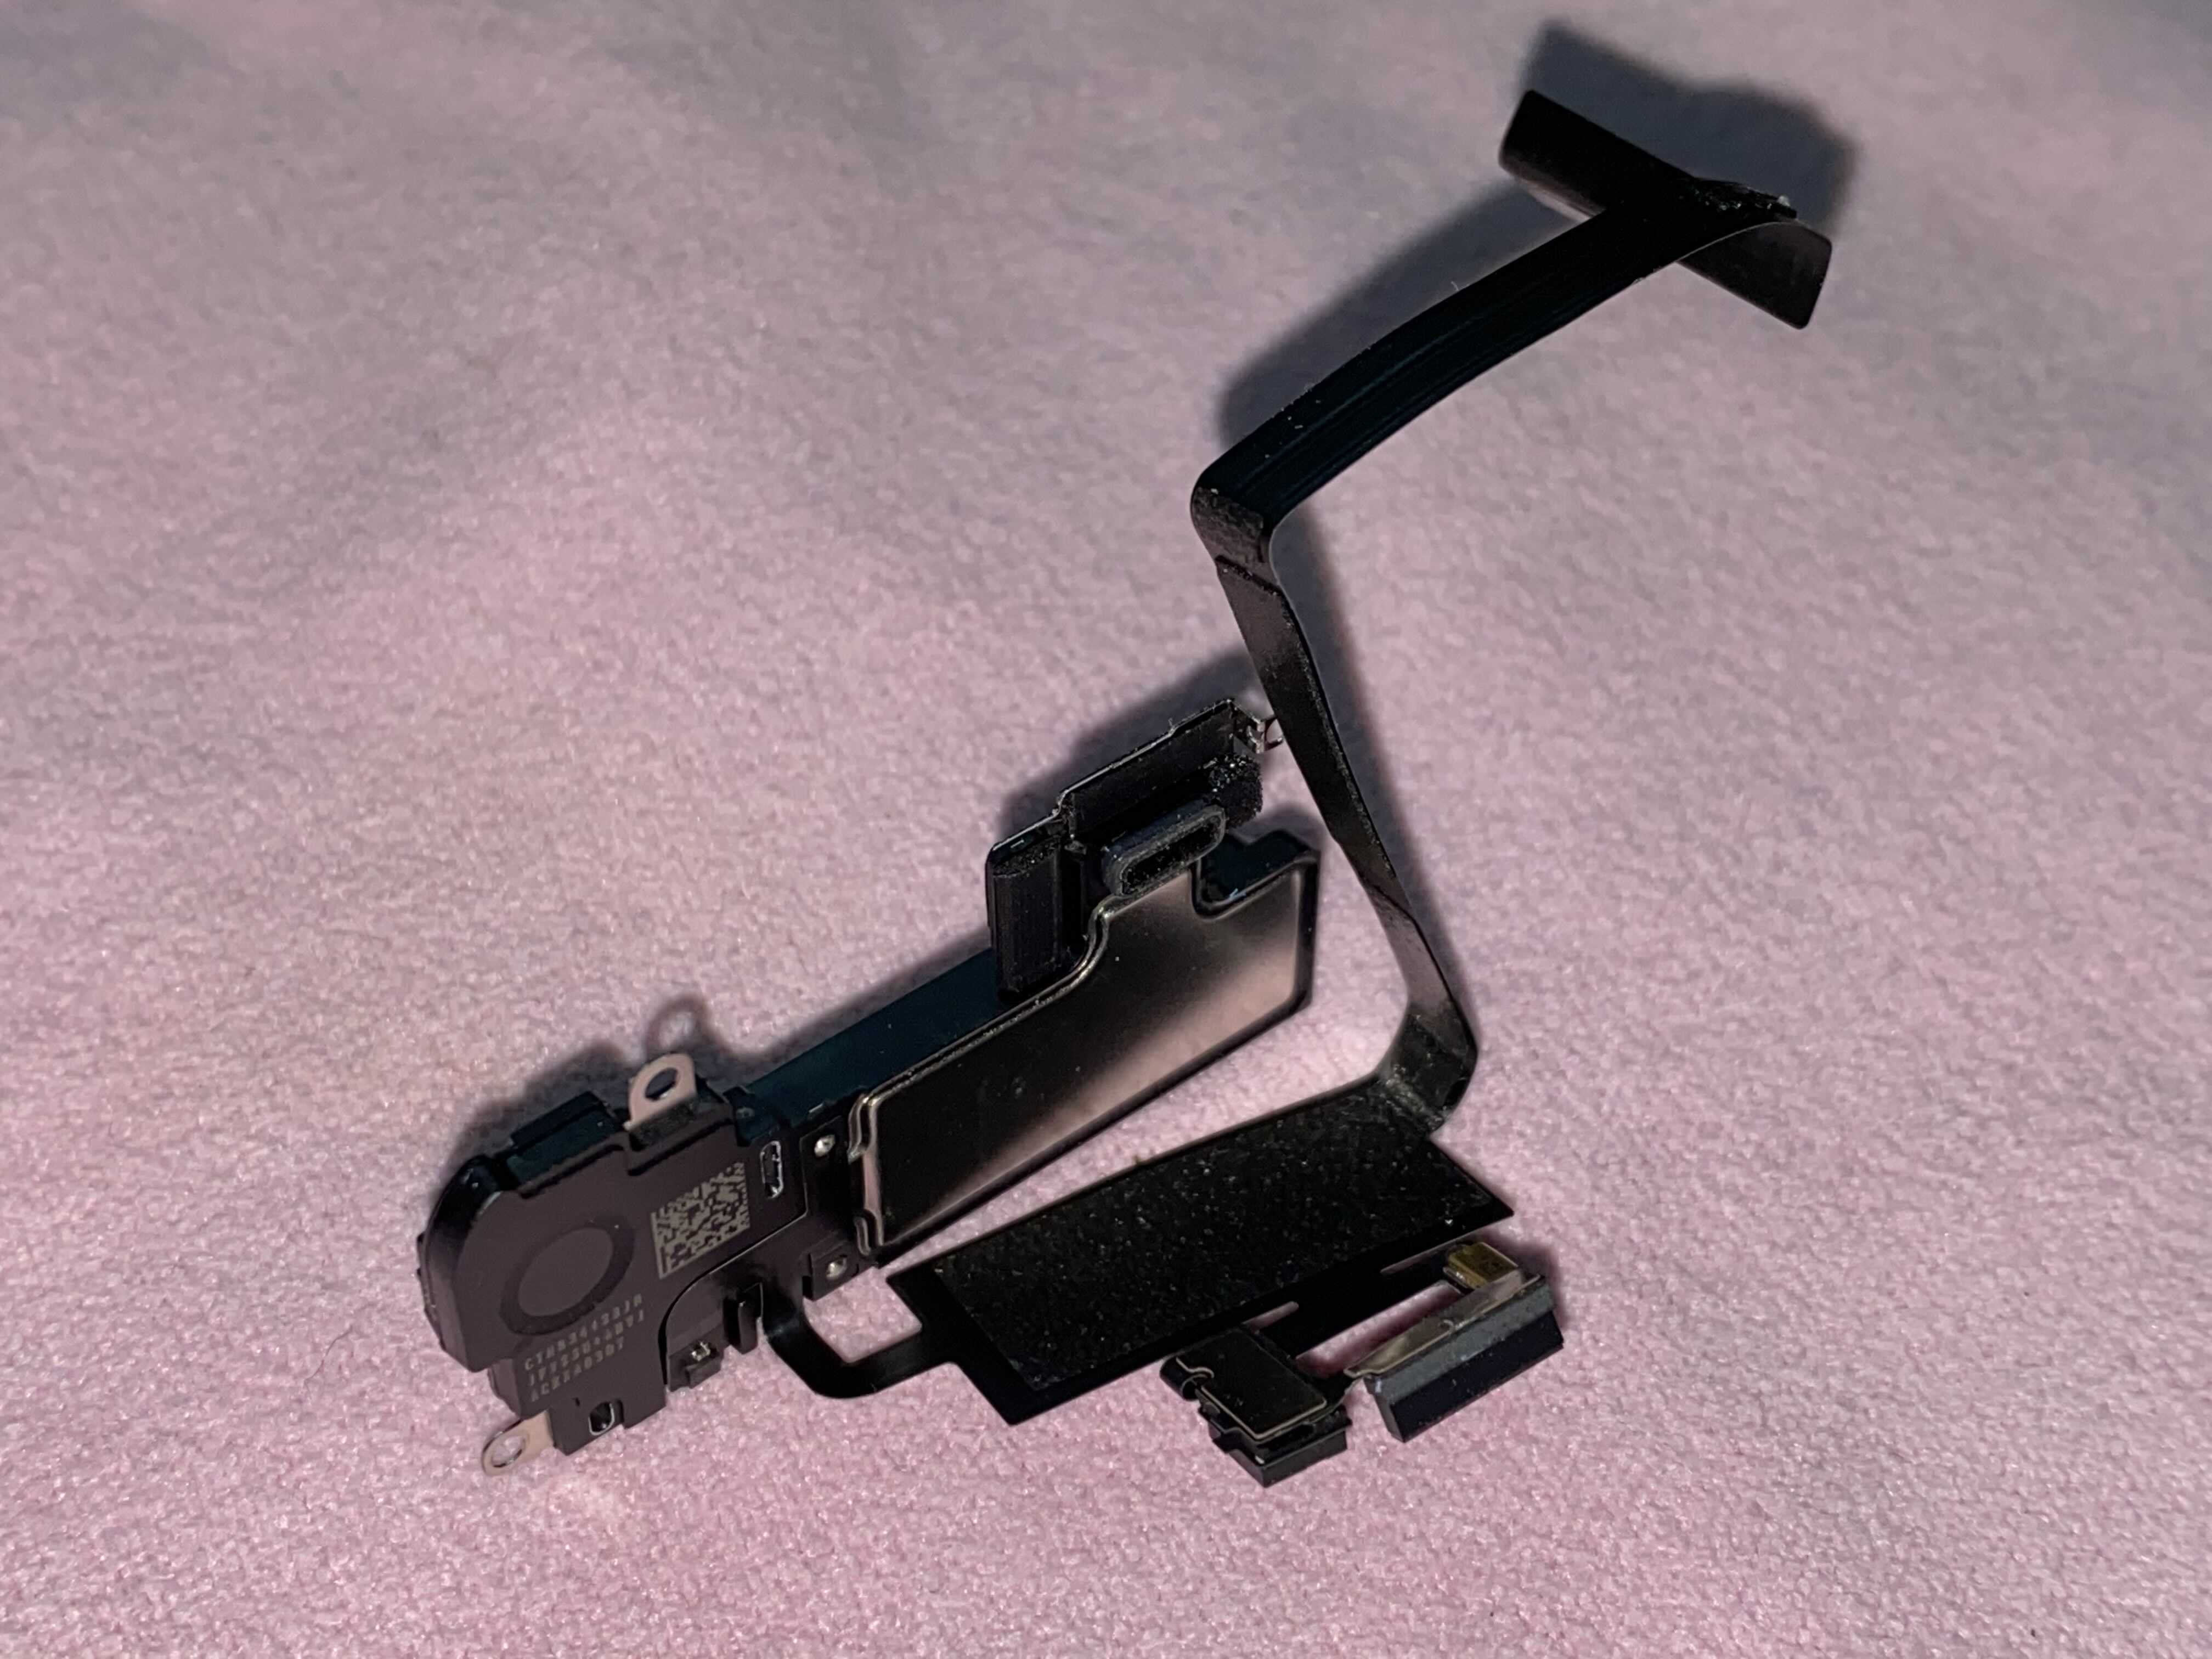
액정 상단에 있는 부품 분리합니다. 나사 세 개 풀르면 됩니다.
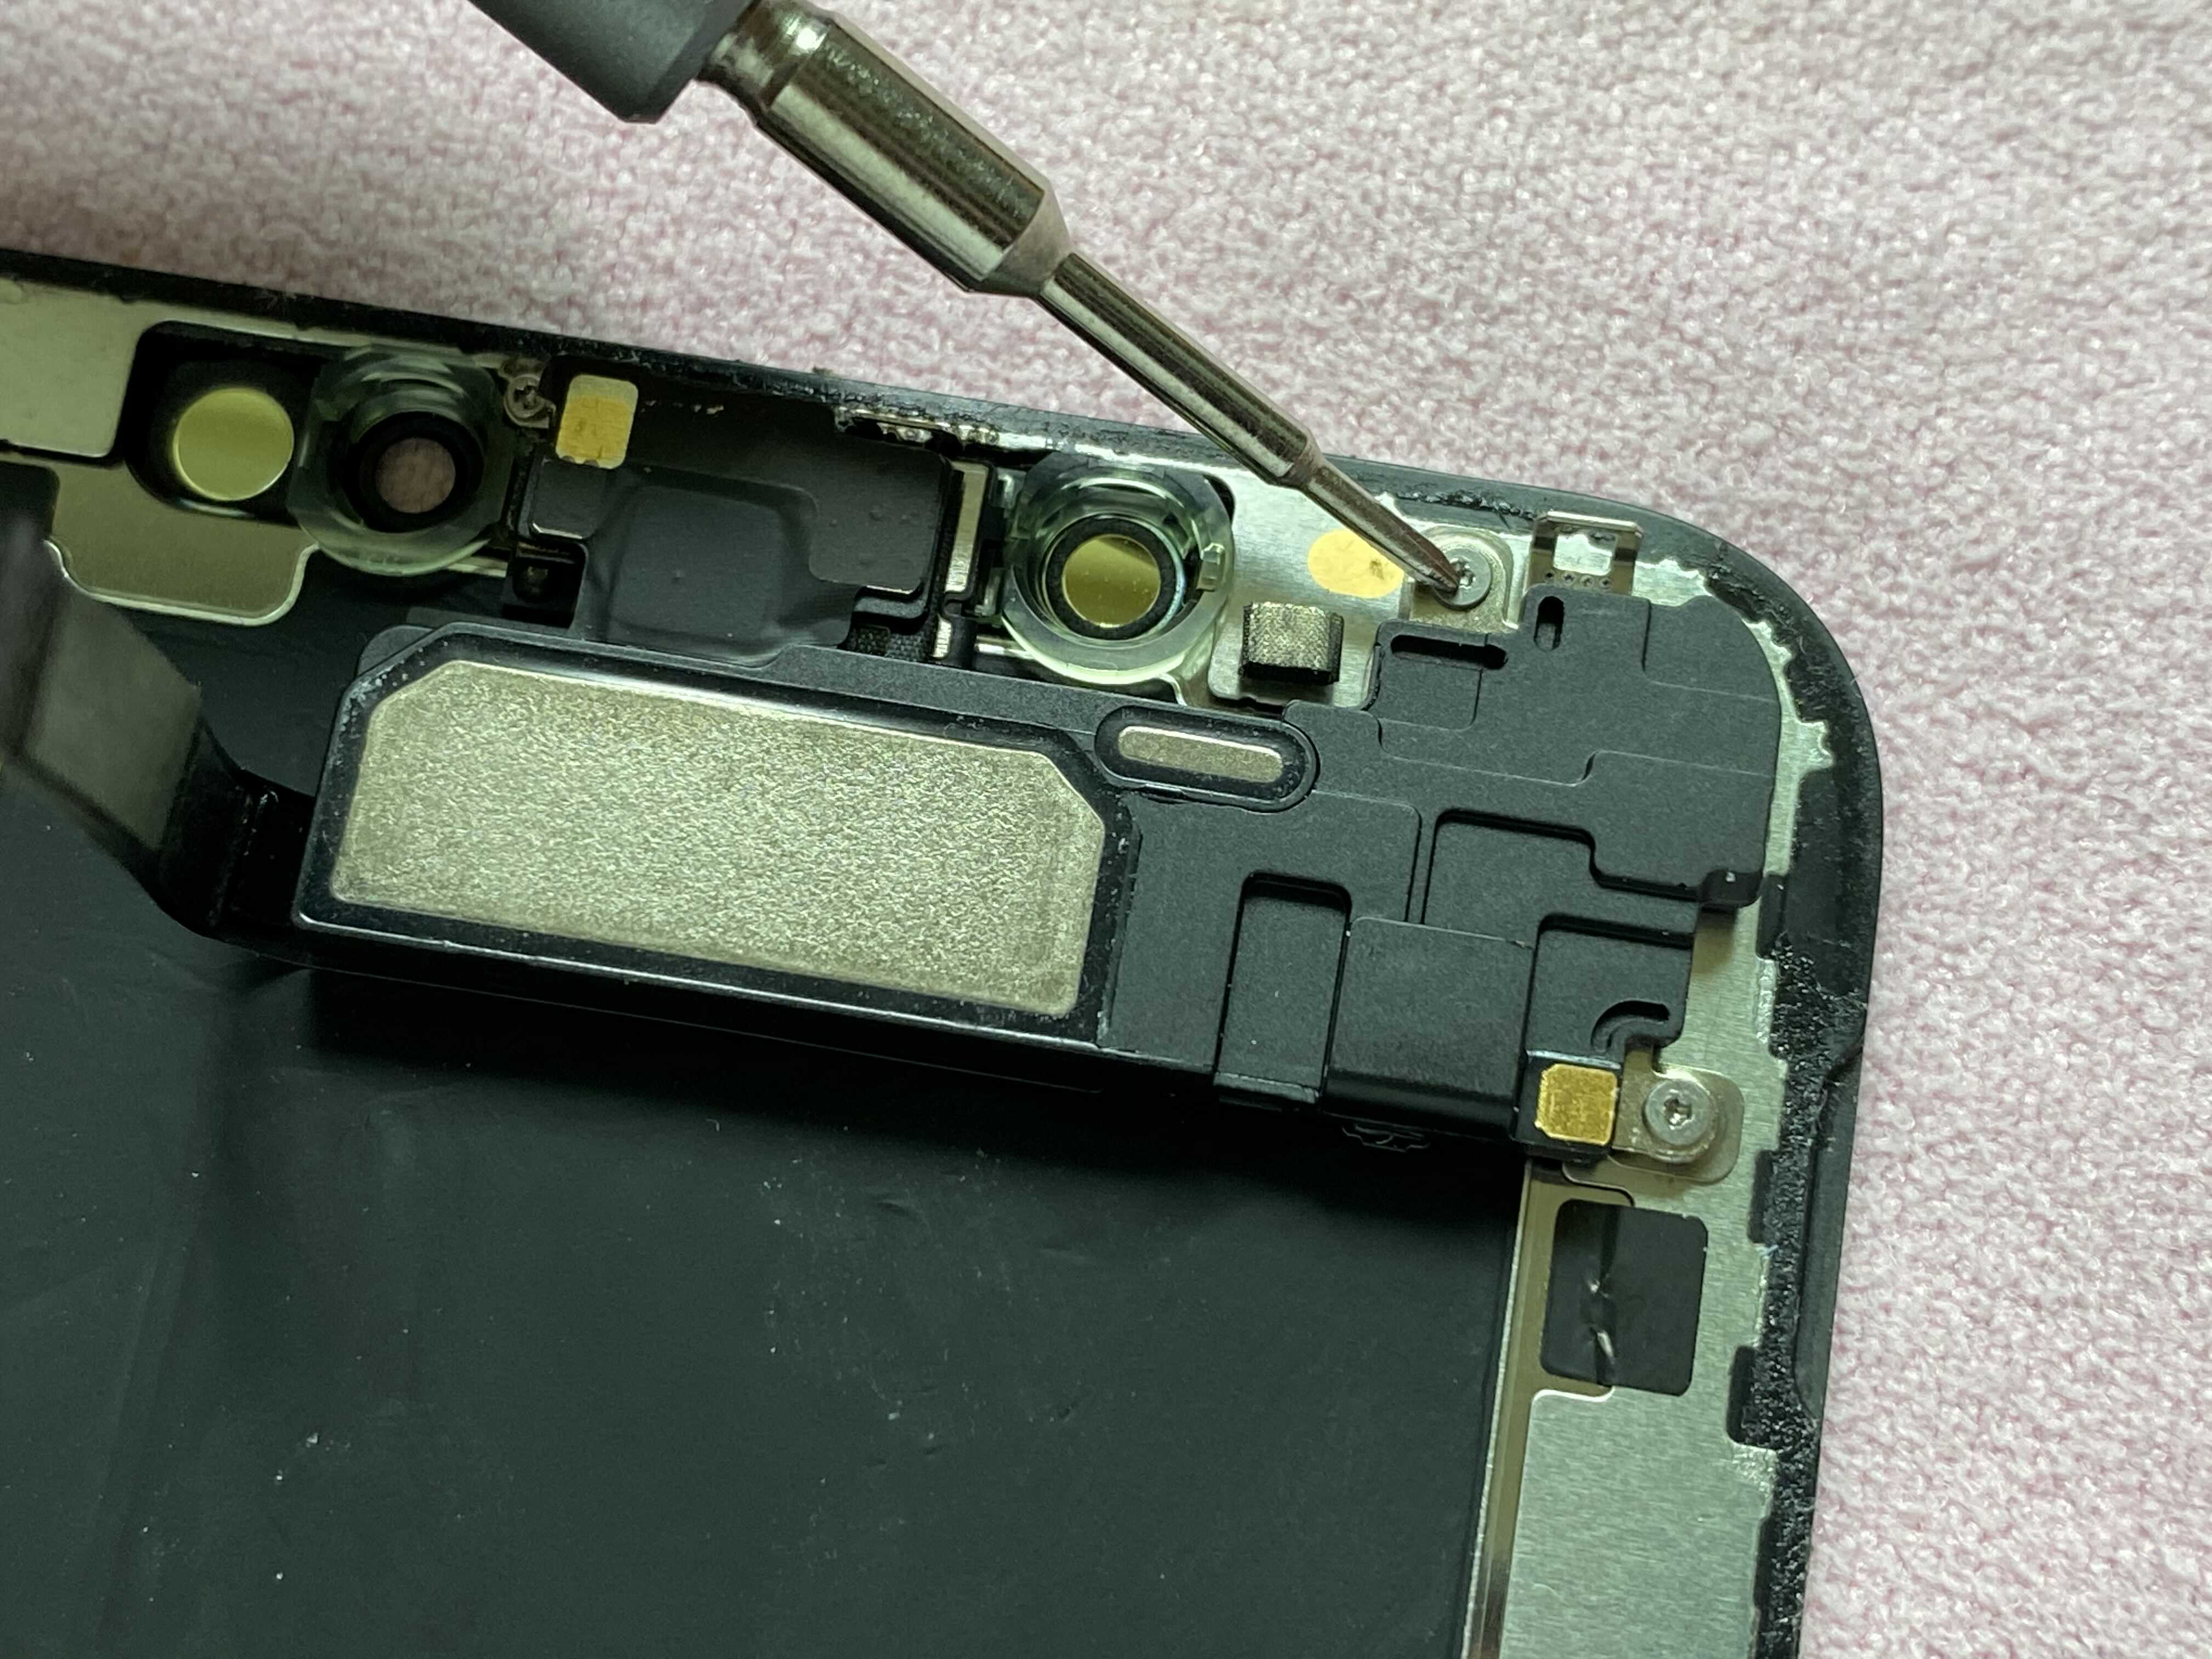
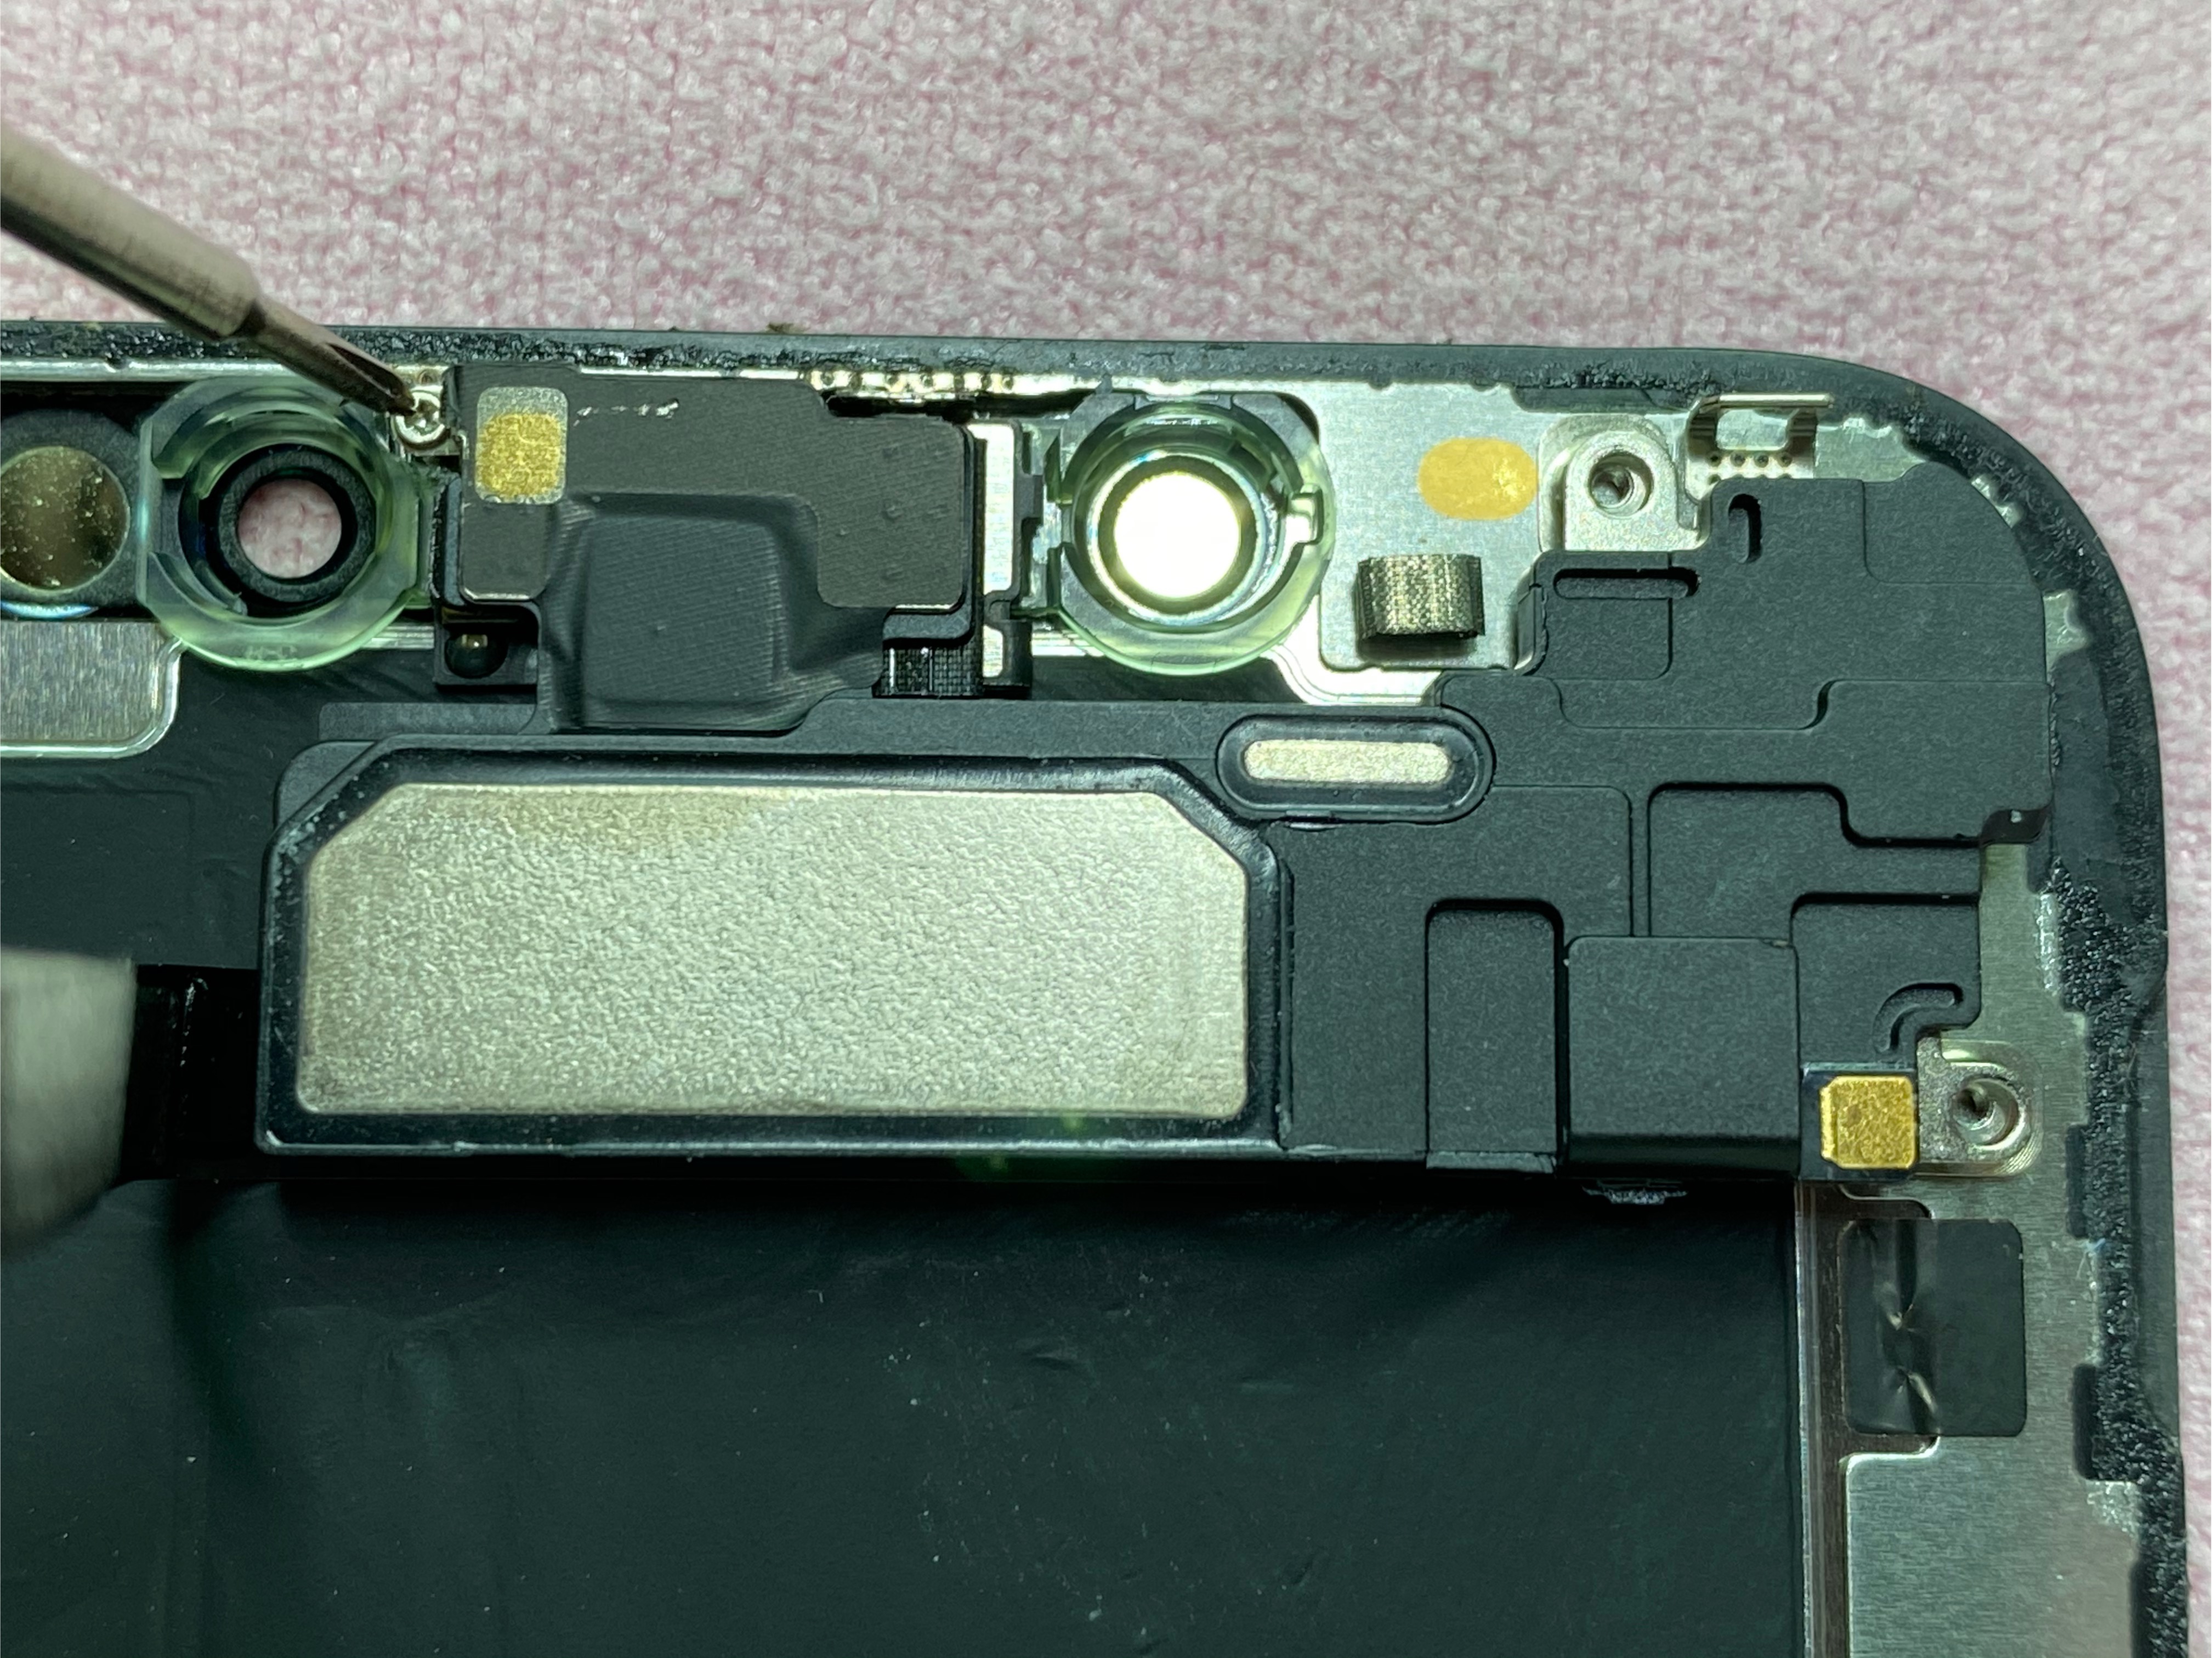
마찬가지로 찜질팩으로 열을 가한 후 분리하니 아주 쉽게 분리를 해 냈습니다.
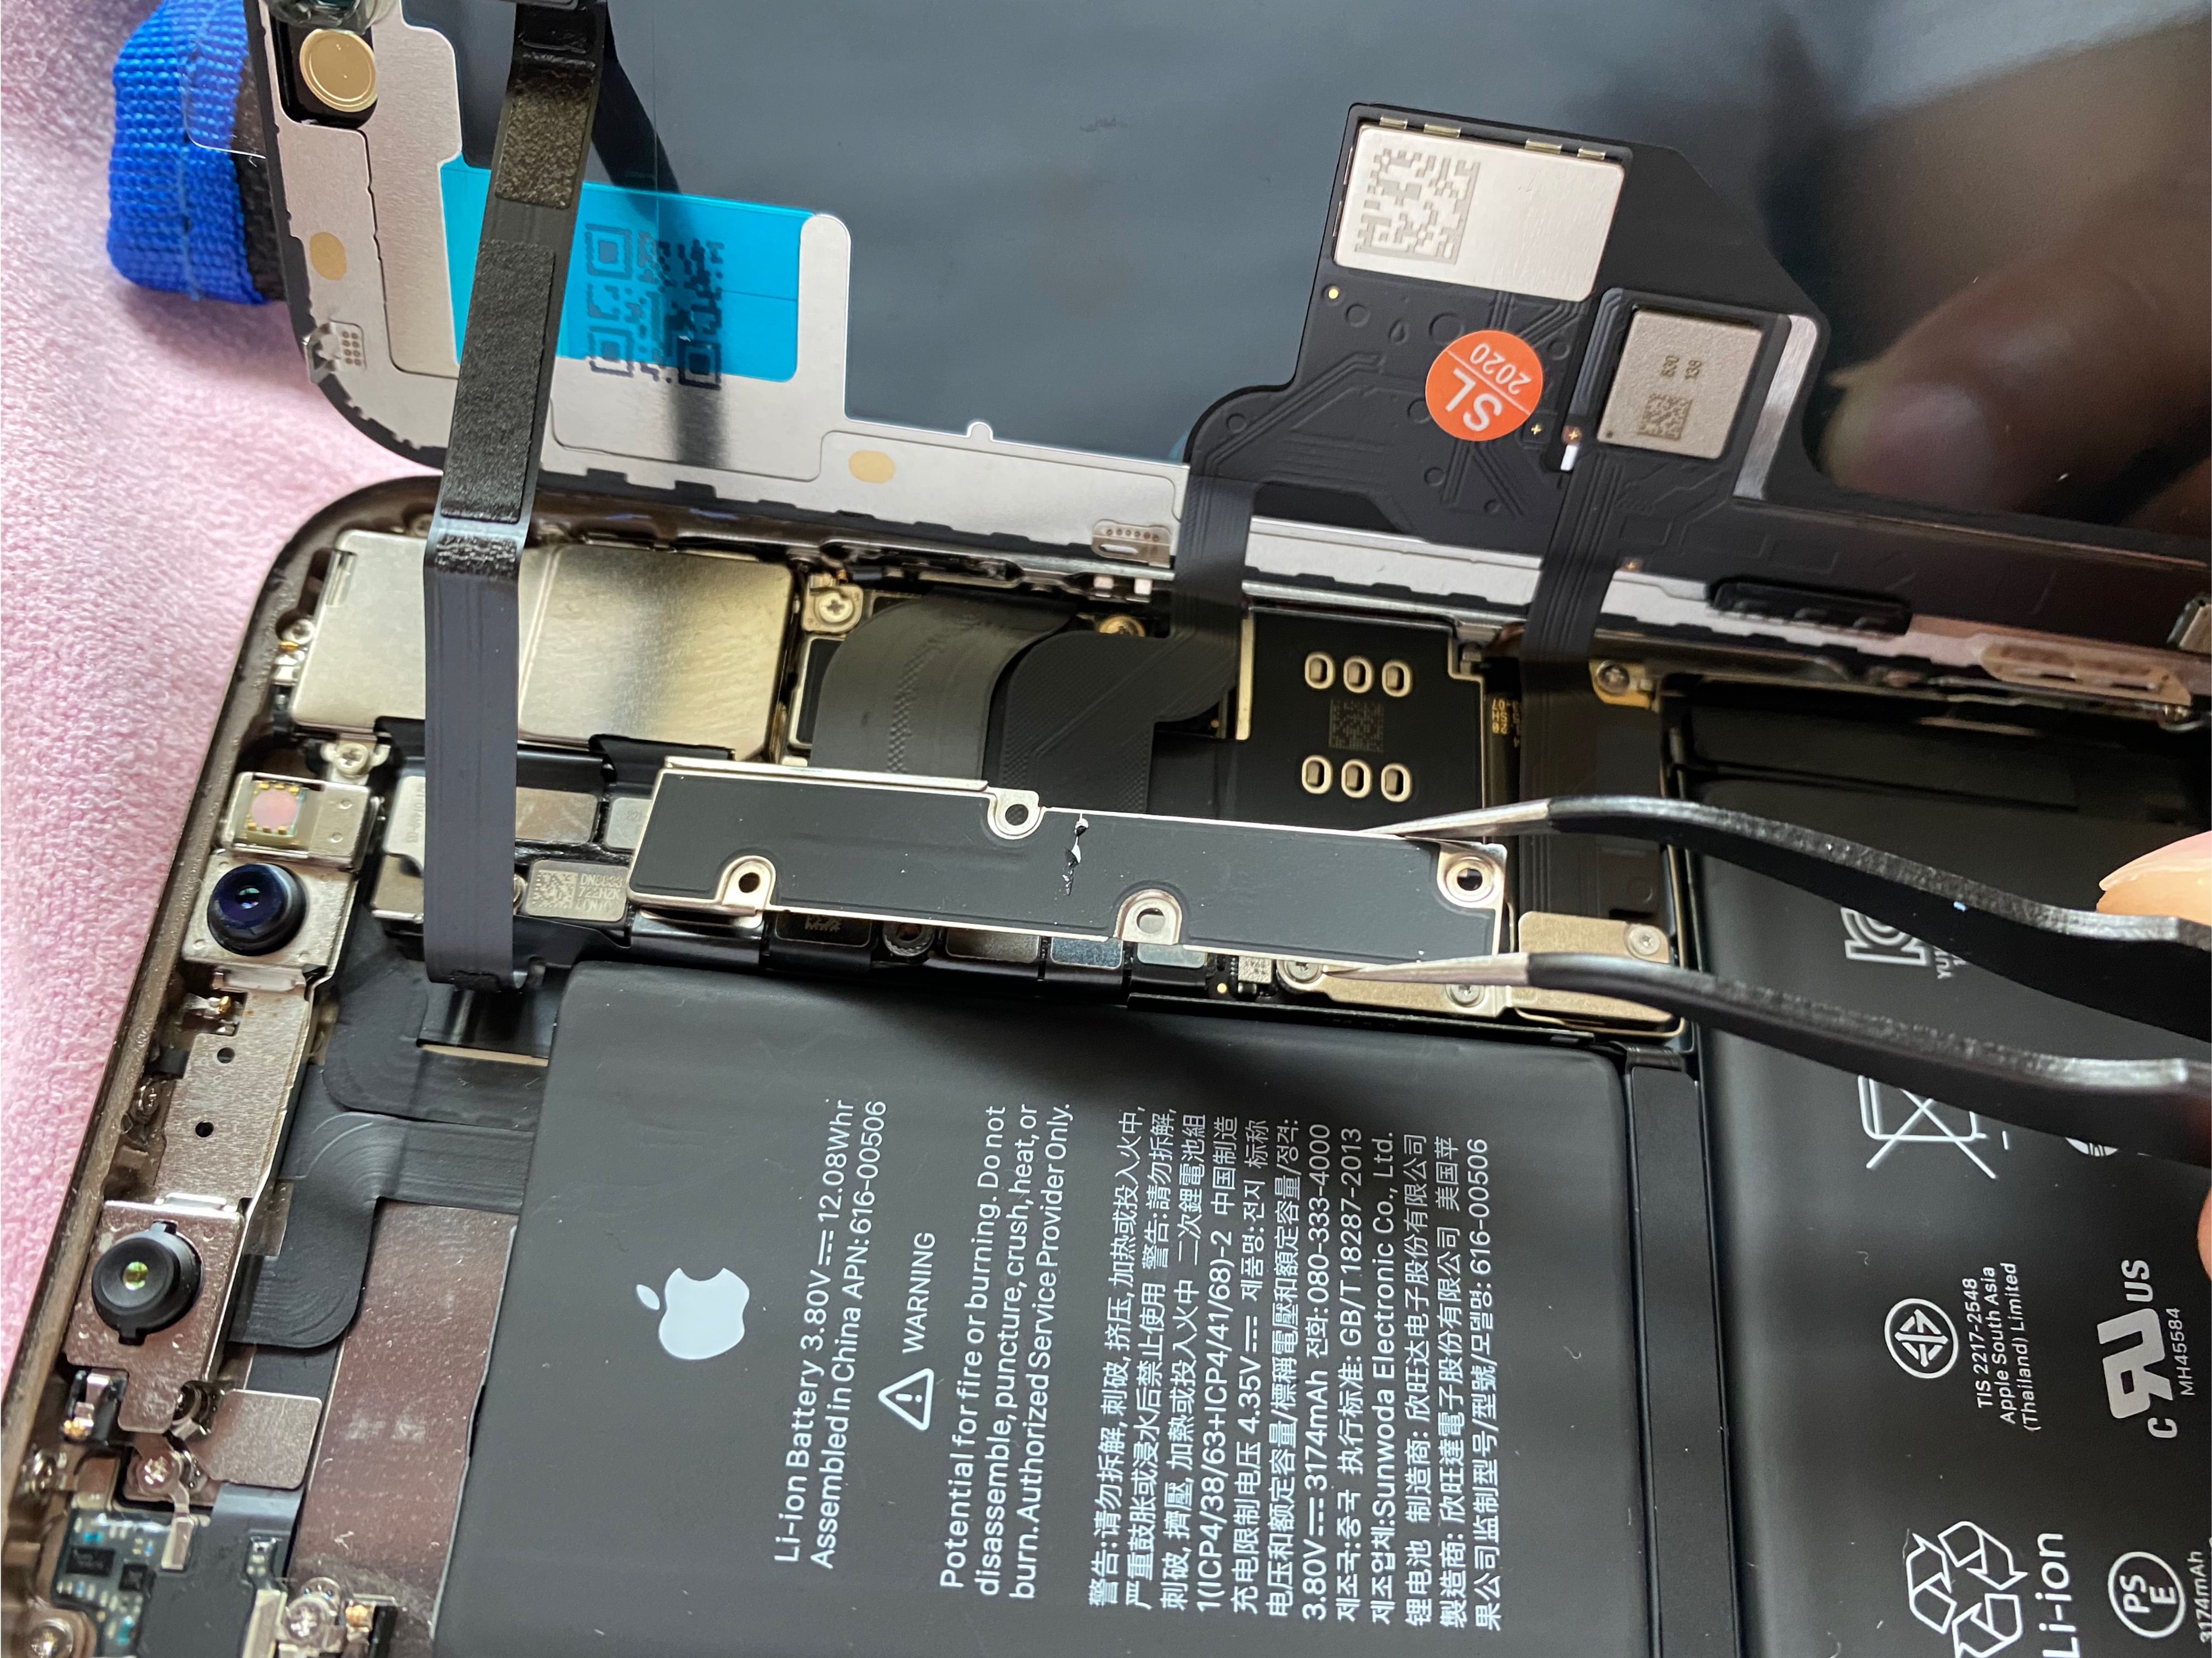
찜질팩으로 열을 가한 후에 분리하니 아주 쉽게 되었습니다. 케이블 손상없이 잘 분리했습니다.

그런 후에, 새 액정에 옮겨 붙이고 분해의 역순으로 조립하면 끝입니다.
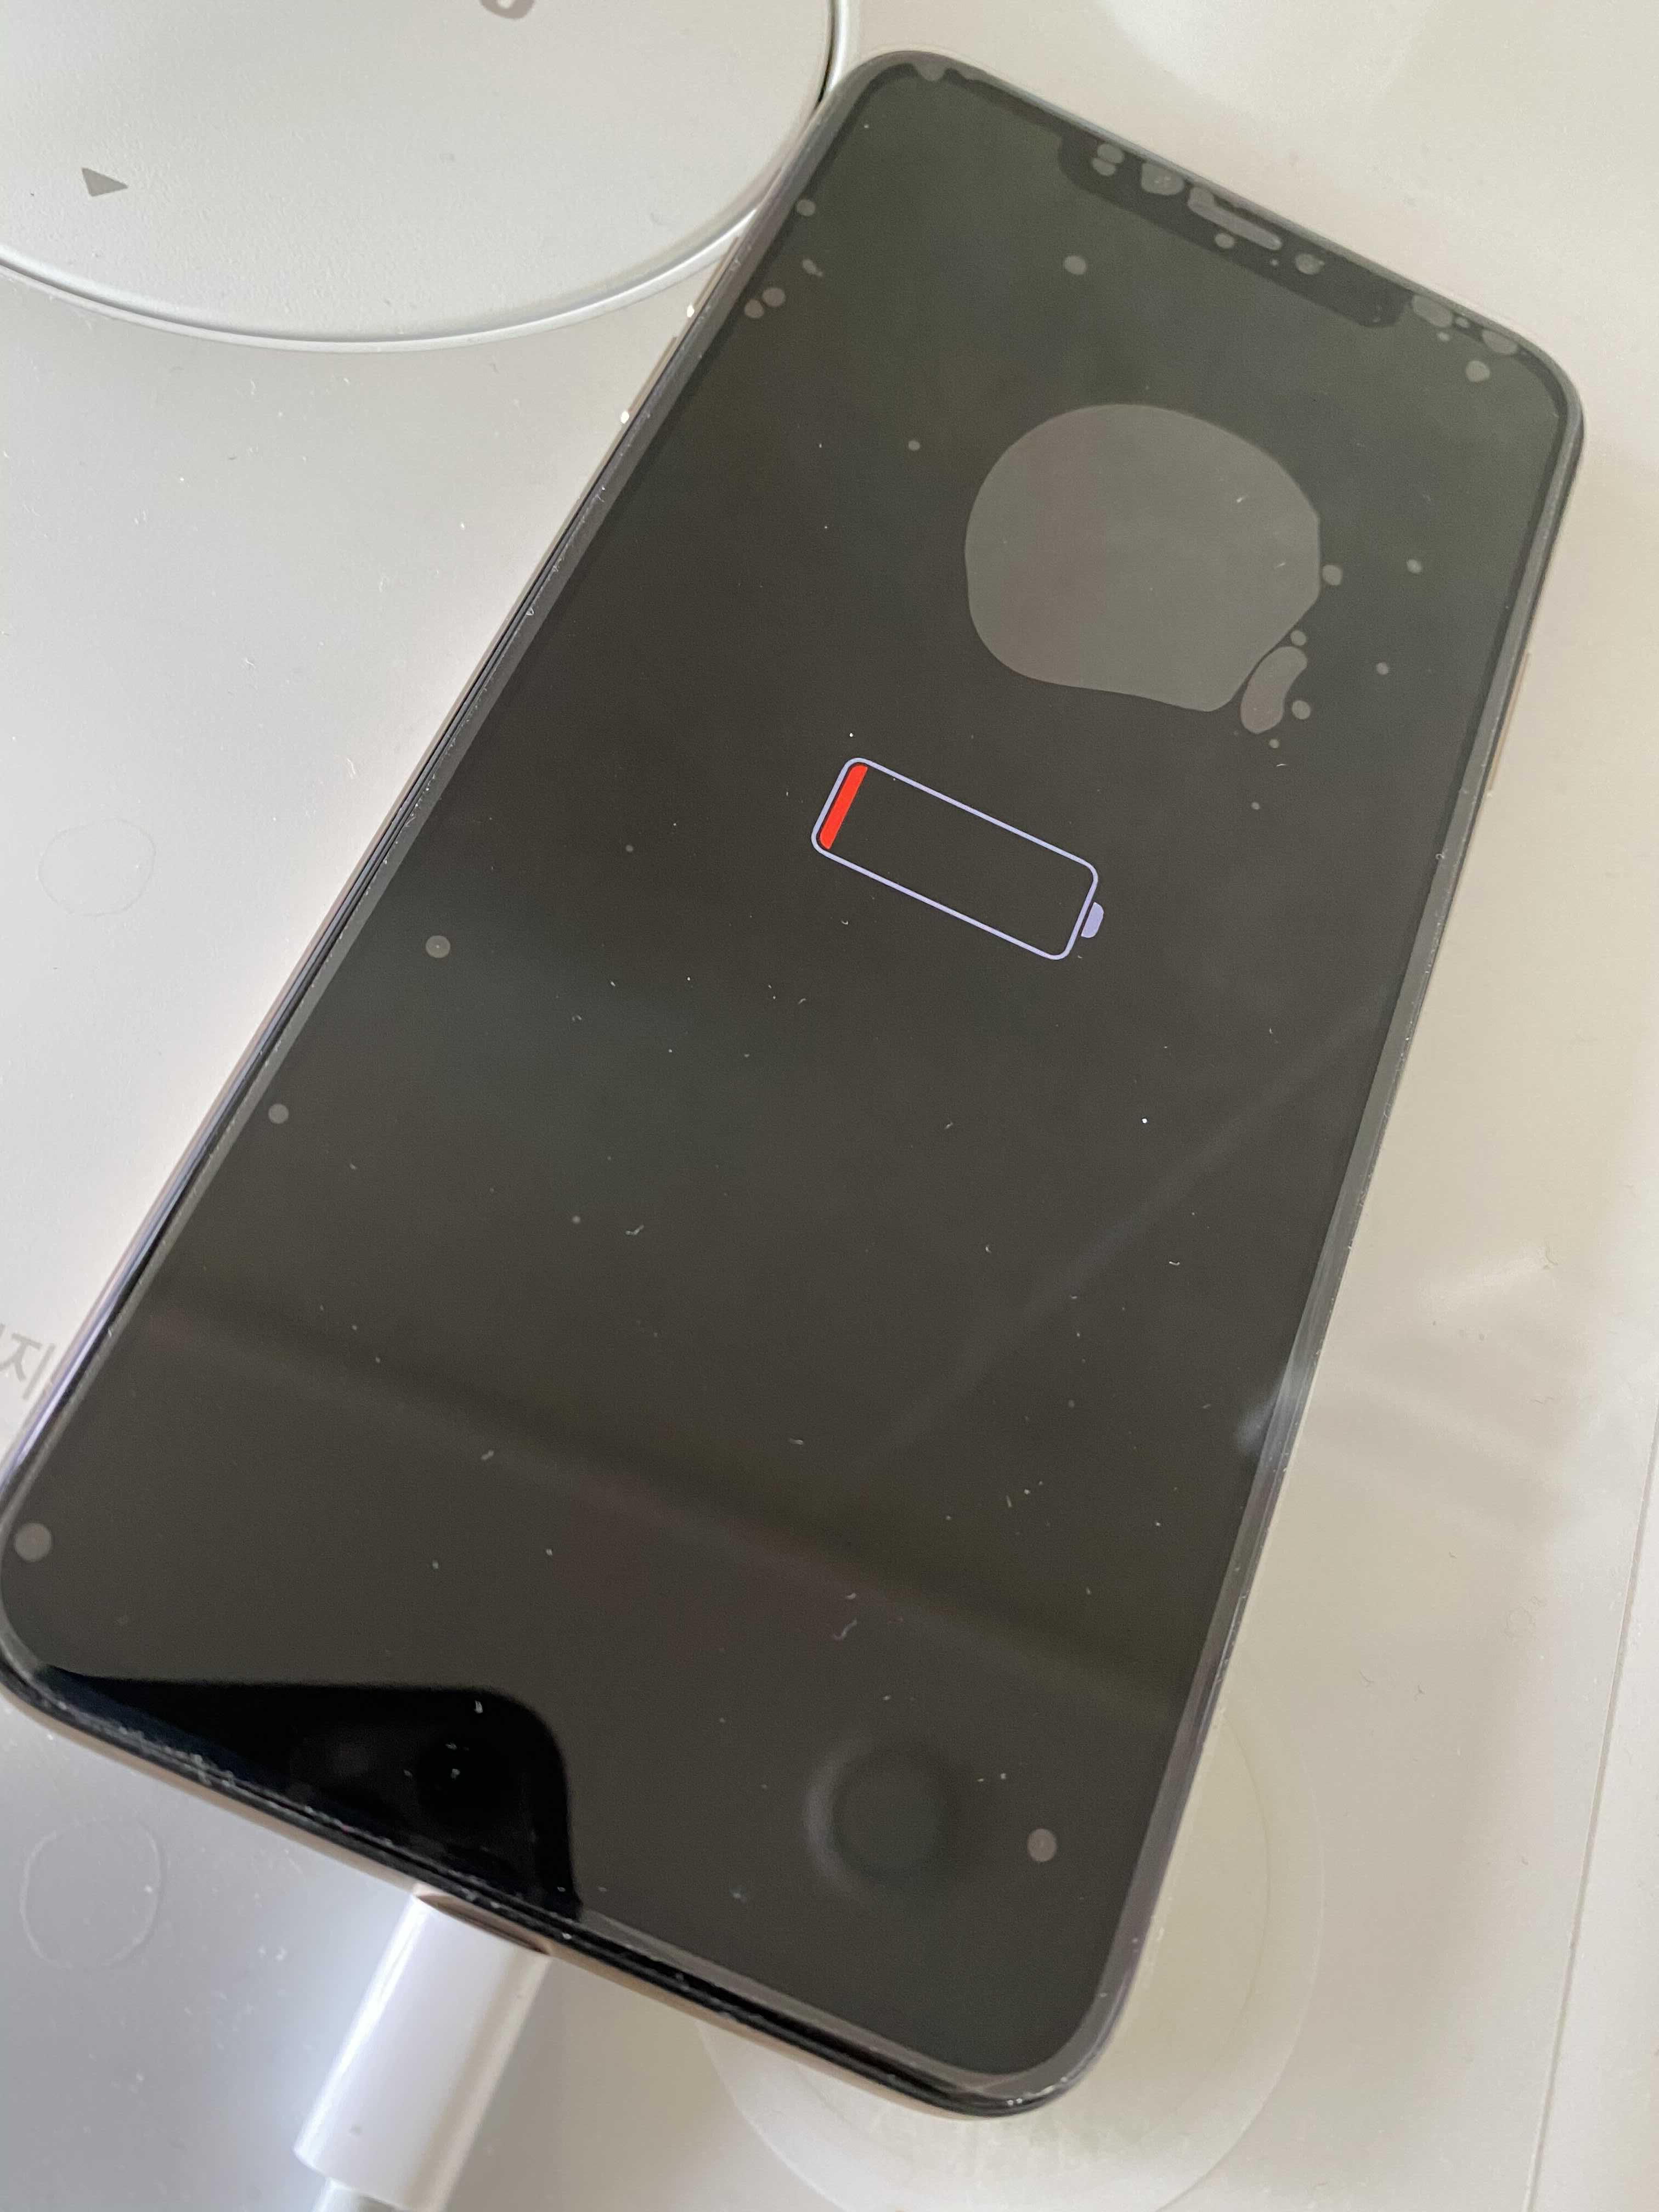
켜지는거 확인하고 조립합니다.
그런 후에 고장나서 못한 소프트웨어 업데이트를 했습니다.
